
Get Started: Kitchen Garden
How to Start Planning a Raised Bed Vegetable Garden (Even If You’re a Total Beginner)
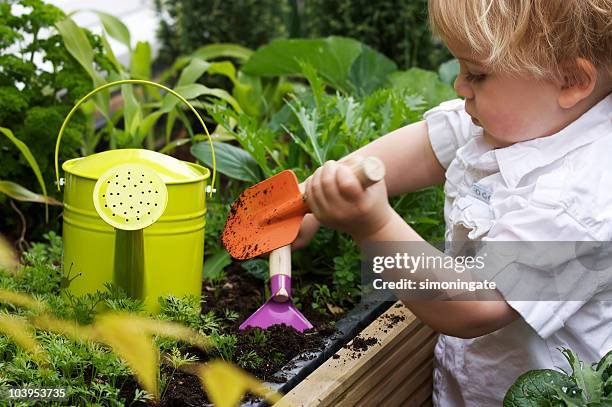
Have you been daydreaming about stepping outside to snip fresh basil for your pasta, or pulling crisp carrots straight from the soil for a garden-to-table snack? You’re not alone. Raised bed vegetable gardening is one of the easiest, most rewarding ways to grow your own food—no matter how big (or small) your space is.
Whether you have a sprawling backyard or just a sunny patch beside your patio, here’s your beginner-friendly guide to planning a raised bed garden that will thrive.
Step 1: Pick the Right Spot
The success of your garden starts with the right location. Most vegetables need 6–8 hours of full sun per day, so look for the sunniest spot in your yard. Bonus points if it’s also:
Close to a water source
Protected from strong winds
Flat or gently sloping for better drainage
💡 Tip: Watch your yard throughout the day and track where the sun hits longest. Even a few extra hours of sunshine can make a big difference!
Step 2: Decide on Your Raised Bed Size
Raised beds come in all shapes and sizes, but for first-timers, simplicity wins. A great starting size is 4 feet wide by 8 feet long, and about 12 to 18 inches deep. Why 4 feet wide? That allows you to reach the center from either side without stepping into the bed (which can compact the soil).
Start with one or two beds—you can always add more later once you get the hang of things.
Step 3: Choose Your Materials
You can buy pre-made raised beds, kits, or DIY your own. Popular materials include:
Cedar or redwood: Naturally rot-resistant and long-lasting
Pressure-treated lumber: Affordable and durable, but make sure it’s safe for food gardens
Galvanized steel or corrugated metal: Modern look and great longevity
Recycled materials: Think old bricks, stone, or even upcycled pallets (untreated only)
Just avoid anything that could leach harmful chemicals into the soil (like railroad ties or old painted wood).
Step 4: Plan What You’ll Grow
Now the fun part—dreaming up your veggie wish list!
As a beginner, choose low-maintenance, high-reward crops like:
Leafy greens (lettuce, spinach, kale)
Tomatoes
Carrots
Peppers
Zucchini
Herbs (basil, thyme, chives)
Consider how much space each plant needs and whether it prefers cool or warm weather. A quick sketch or garden planner app can help visualize your layout.
🌱 Tip: Grow what you actually like to eat. If your kids hate radishes, don’t waste the space.
Step 5: Fill Your Bed With the Right Soil
Healthy soil is the secret to a thriving garden. For raised beds, aim for a balanced mix like:
60% topsoil
30% compost
10% peat moss or coconut coir (for moisture retention)
You can also buy pre-blended raised bed soil at your local garden center. Just make sure it’s loose, rich in organic matter, and drains well.
Step 6: Add a Mulch Layer
Once your plants are in, top the soil with mulch (like straw, shredded leaves, or bark). This helps:
Retain moisture
Suppress weeds
Regulate soil temperature
Feed the soil as it breaks down
Step 7: Water Wisely
Raised beds tend to dry out faster than in-ground gardens, especially in summer. Water deeply at the base of your plants—early in the morning is best. Consider installing a drip irrigation system or soaker hose for easy, efficient watering.
💧 Rule of thumb: 1–1.5 inches of water per week, depending on weather.
Step 8: Enjoy & Experiment!
Gardening is part science, part art. You’ll learn what works (and what doesn’t) through experience. Take notes, celebrate the wins (like your first ripe tomato!), and don’t get discouraged by a few setbacks.
Ready to Grow?
Starting a raised bed vegetable garden is one of the most satisfying ways to reconnect with nature—and your dinner plate. With a little planning, you’ll be harvesting fresh, flavorful produce in no time.
Happy planting! 🌿