THE LATEST / KEEP
Everything you need to organize, clean, and maintain your home.

Deep Clean: Fridge
- Take everrrything out
- Spray and wipe down every surface, take out drawers and shelves to hand wash if necessary
- Toss expired foods
- Wipe down bottles and caps so they’re clean too
- Use tools to make your food last longer (and save $$ in the long run) like produce savers and herb jar storage
A clean refrigerator is one of those quiet luxuries of a well-kept home. It keeps food fresh, odors at bay, and daily cooking more pleasant. While it may feel like a task easily postponed, a proper refrigerator clean is surprisingly straightforward—and deeply satisfying—when done with intention.
This is not about perfection or harsh chemicals. It is about restoring order, freshness, and calm to one of the hardest-working spaces in the kitchen.
How Often to Clean Your Refrigerator
Quick tidy: once a week (discard expired items, wipe spills)
Thorough clean: every 1–3 months
Deep clean: twice a year, including coils and seals
A seasonal rhythm—early spring and early fall—works beautifully for most households.
What You’ll Need
Baking soda
White vinegar
Warm water
A few clean cloths or soft sponges
An old toothbrush or small scrub brush
Dish soap
A small bowl
Optional: lemon slices for freshening
Avoid harsh chemical sprays, which can linger on food surfaces and damage interior finishes.
Step 1: Empty the Refrigerator
Begin by removing all contents. Place perishables in a cooler if needed. This step alone often reveals expired condiments, forgotten leftovers, and items ready to be discarded.
As you empty the shelves, check expiration dates and let go of anything that no longer serves you. A clean refrigerator begins with less clutter.
Step 2: Remove Shelves and Drawers
Take out all removable shelves, drawers, and bins. Allow glass shelves to come to room temperature before washing to prevent cracking.
Wash these pieces in warm water with a small amount of dish soap. For stuck-on residue, let them soak for several minutes before gently scrubbing. Rinse well and set aside to air dry.
Step 3: Clean the Interior
Mix a gentle cleaning solution:
Option 1: 2 tablespoons baking soda + 1 quart warm water
Option 2: Equal parts white vinegar and water
Using a clean cloth, wipe down all interior surfaces, paying close attention to corners and seams. Use an old toothbrush to clean crevices where crumbs and spills tend to collect.
Dry surfaces thoroughly with a clean towel before replacing shelves.
Step 4: Clean the Door Seals
The rubber door gaskets are often overlooked but can trap crumbs and moisture. Gently clean them with warm, soapy water and a toothbrush. Dry completely—this helps maintain a proper seal and prevents mold.
Step 5: Wipe Down the Exterior
Using a damp cloth and mild soap, clean the refrigerator doors and sides.
For stainless steel, wipe in the direction of the grain and finish with a dry cloth.
Clean handles thoroughly—they are touched more often than we realize.
Step 6: Deodorize Naturally
To keep your refrigerator smelling fresh:
Place an open bowl of baking soda on a shelf
Or tuck a few lemon slices inside for a subtle, clean scent
Avoid heavily scented products, which can transfer odors to food.
Step 7: Return Food Thoughtfully
Before returning items, wipe jars and bottles if needed. Group similar items together—dairy, condiments, produce—so everything has a clear place.
This is an excellent moment to establish simple order that will make everyday cooking easier and more pleasant.
Optional: Clean the Coils (Twice a Year)
If accessible, gently vacuum refrigerator coils to remove dust. This improves efficiency and extends the life of the appliance. Always unplug first.
A Final Thought
Cleaning a refrigerator is not just a chore—it is an act of care for your home and those who live in it. When done regularly and gently, it becomes less of a burden and more of a quiet reset.
A fresh refrigerator sets the tone for the kitchen, and in many ways, for the day ahead.

Deep Clean: Range & Hood
A clean vent hood is one of those quiet details that makes a kitchen feel truly cared for. It improves air quality, keeps grease from settling on nearby surfaces, and—perhaps most satisfying—restores a sense of order to the heart of the home. While it may seem like a task best postponed, cleaning your vent hood is straightforward and deeply rewarding when done properly.
Below is a simple, classic approach that works for most kitchens.
Why Cleaning Your Vent Hood Matters
Over time, cooking oils, steam, and airborne grease collect on your vent hood and filters. Left unattended, this buildup can:
Reduce the hood’s effectiveness
Trap odors in your kitchen
Create a sticky film that attracts dust
Become a potential fire hazard
Regular cleaning keeps your kitchen fresher, safer, and more beautiful.
How Often Should You Clean It?
Light cooking: Every 2–3 months
Frequent cooking or frying: Monthly
Deep clean (interior + motor cover): 1–2 times per year
What You’ll Need
Dish soap or a grease-cutting cleaner
Baking soda (optional, for heavy buildup)
Microfiber cloths or soft sponges
A non-abrasive brush or old toothbrush
Warm water
Degreaser (for stainless steel or heavy grease)
Step-by-Step: Cleaning the Vent Hood
1. Turn Off the Power
For safety, ensure the vent hood is switched off and cool before you begin.
2. Remove the Filters
Most vent hood filters slide or pop out easily. Check your manufacturer’s instructions if unsure.
Metal filters:
Soak in very hot water with dish soap for 15–30 minutes. For stubborn grease, add a few tablespoons of baking soda.Charcoal filters:
These usually cannot be washed and should be replaced periodically.
After soaking, gently scrub, rinse thoroughly, and allow them to air dry completely.
3. Clean the Hood Exterior
Using a soft cloth and a gentle degreaser, wipe down the exterior surface.
For stainless steel, always wipe in the direction of the grain to avoid streaking.
Avoid abrasive pads, which can damage finishes.
Finish with a clean, damp cloth, then dry with a soft towel.
4. Clean the Interior
With the filters removed, wipe down the interior surfaces where grease tends to collect. A soft brush can help reach corners and seams.
Take care not to spray liquid directly into the fan or electrical components—apply cleaner to your cloth instead.
5. Reassemble
Once everything is completely dry, replace the filters and restore power.
A Few Designer Tips
Line the hood interior (where appropriate) with disposable grease liners to make future cleaning easier.
Run the vent hood regularly, even for short cooking sessions—this reduces grease buildup over time.
Keep it consistent. Light, frequent cleaning prevents the need for harsh chemicals later.
The Final Touch
A clean vent hood may not be the most glamorous task, but it quietly elevates your kitchen. Like polished hardware or freshly washed windows, it’s one of those details that signals intention, care, and timeless good housekeeping.
Deep Clean: Washer & Dryer
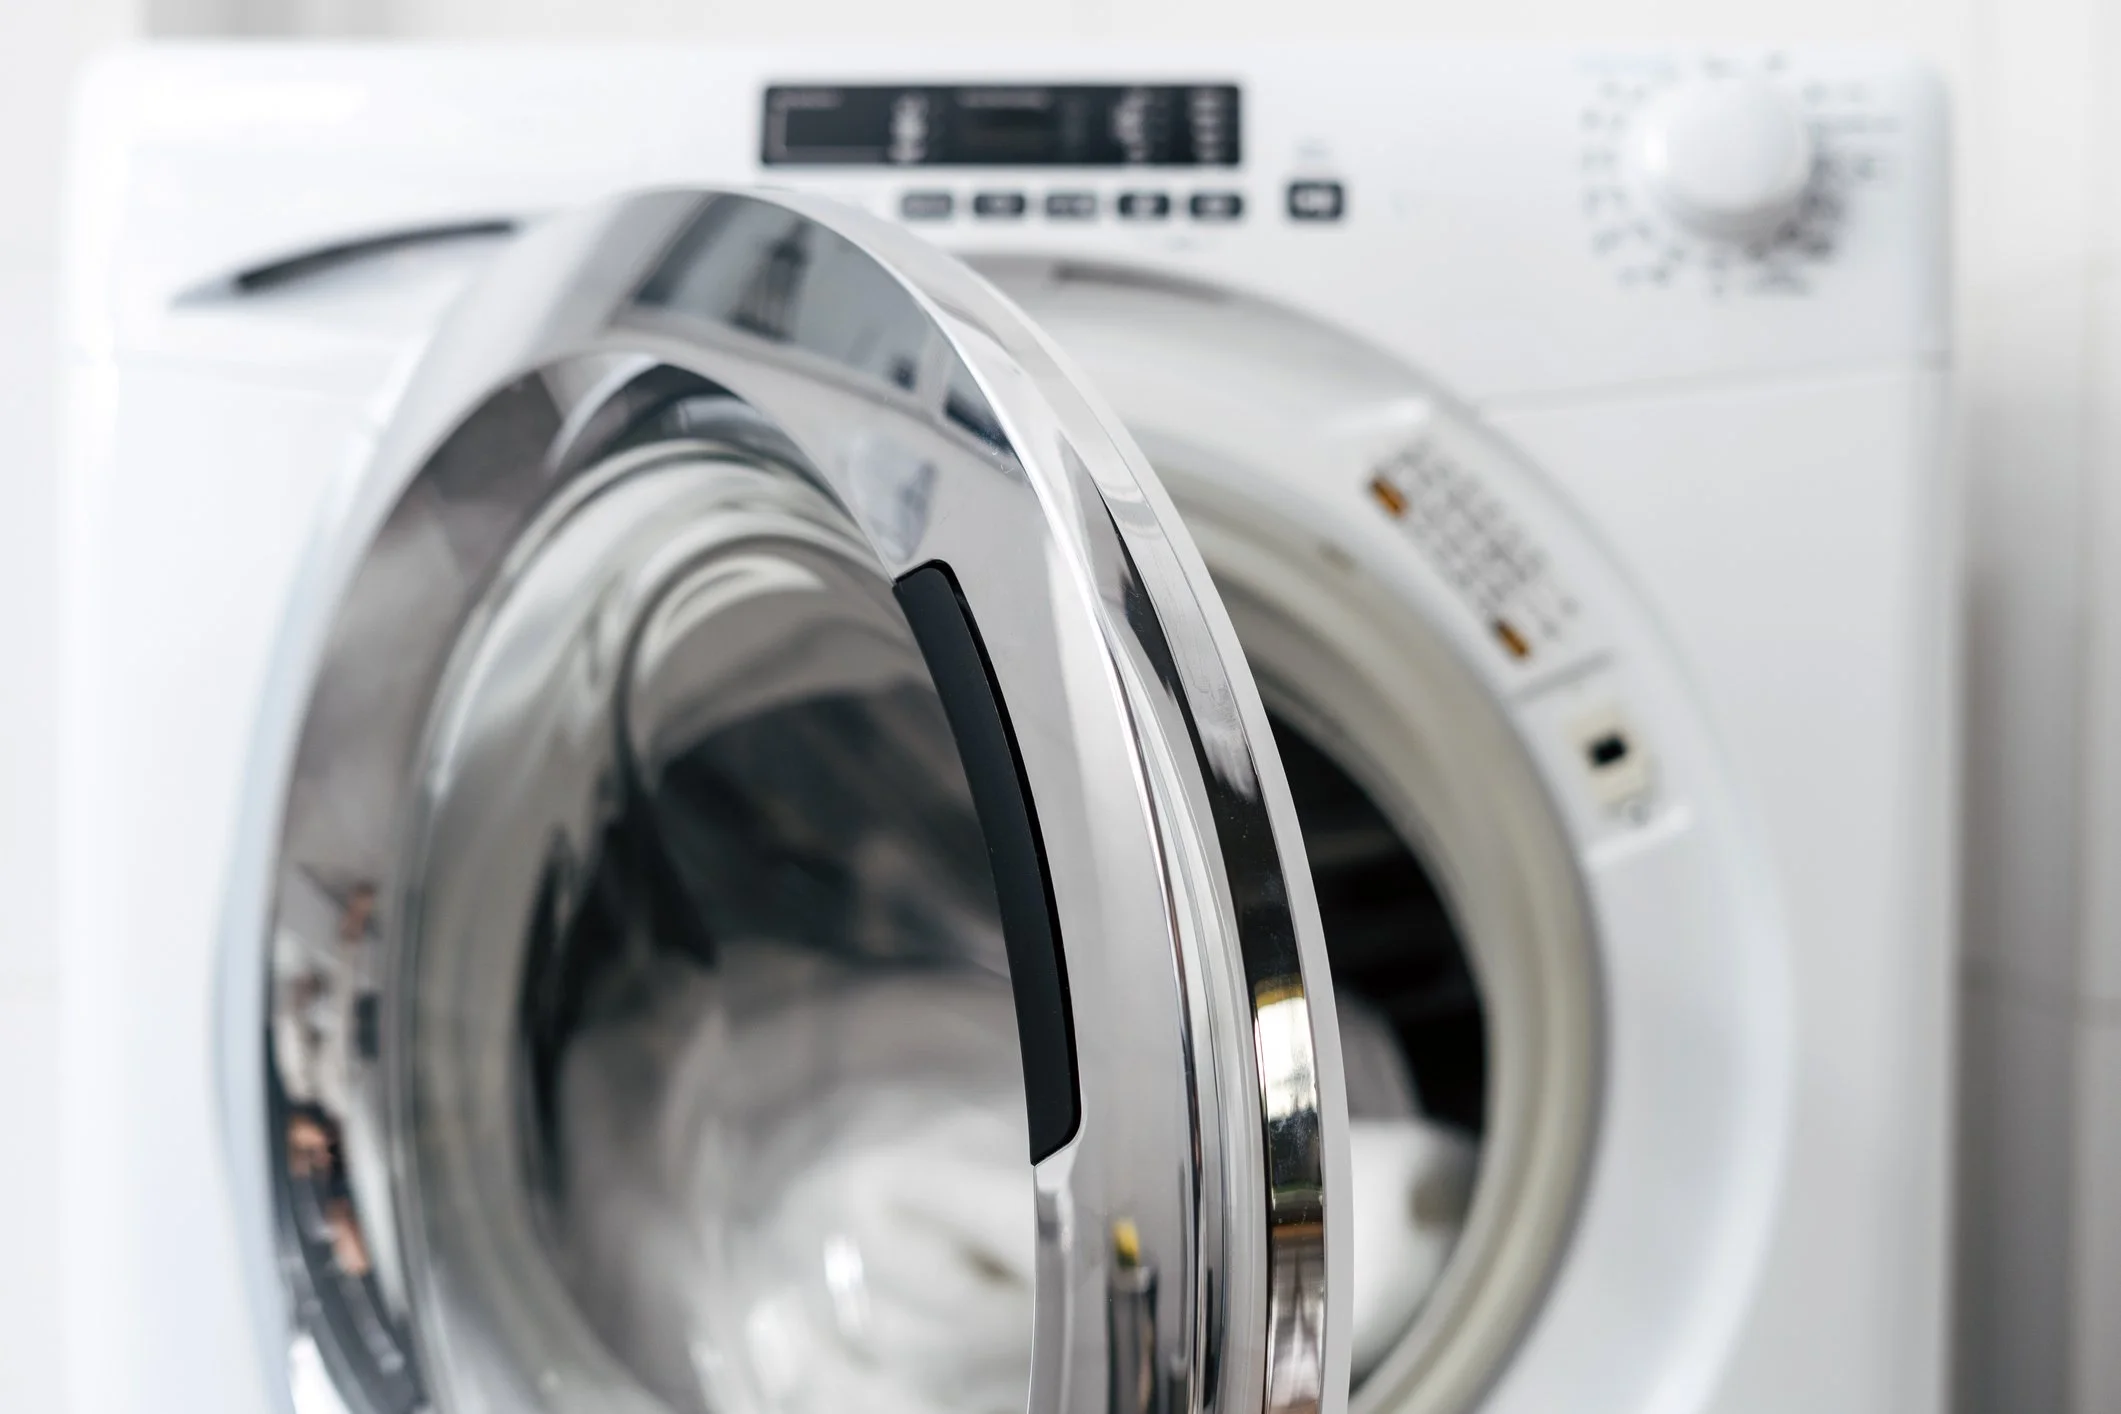
In a well-kept home, it’s often the unseen tasks that matter most. We launder linens, press shirts, and fold sweaters with care—yet the very machines that do this work quietly accumulate residue, dust, and lint. Cleaning your washer and dryer is not only a matter of efficiency, but of preservation and safety. Fortunately, this is a simple ritual that, when done seasonally, keeps your laundry room running beautifully.
Why It Matters
A washing machine that smells faintly musty or a dryer that takes longer to dry are both gentle warnings. Soap residue, fabric softener, mineral buildup, and lint can reduce performance over time. Regular cleaning extends the life of your appliances, protects your clothing, and ensures that “clean laundry” truly is clean.
How to Clean Your Washing Machine
What You’ll Need
White distilled vinegar
Baking soda
A soft cloth or microfiber towel
An old toothbrush or small cleaning brush
Step 1: Clean the Drum
Set your washer to its hottest, longest cycle. Add 2 cups of white vinegar directly to the drum (not the detergent drawer). Let the cycle run fully to dissolve buildup and eliminate odors.
Once finished, sprinkle ½ cup baking soda into the drum and run a second hot cycle. This neutralizes lingering odors and gently scrubs the interior.
Step 2: Wipe the Gasket and Door
For front-loading machines, gently pull back the rubber gasket. Wipe thoroughly—this area often traps moisture and lint. Use a toothbrush for crevices if needed.
Step 3: Clean the Detergent Drawer
Remove the drawer entirely and soak it in warm, soapy water. Scrub away residue, rinse well, and dry before replacing.
Step 4: Exterior Touch-Up
Wipe the machine’s exterior, controls, and lid with a damp cloth. These high-touch areas deserve the same care as the rest of your home.
How to Clean Your Dryer
Step 1: Empty and Wash the Lint Trap
Remove the lint screen and wash it with warm water and a drop of dish soap to remove fabric softener film. Let it dry completely before reinserting.
Step 2: Vacuum the Lint Compartment
With the lint screen removed, use a vacuum hose and attachement to gently clean inside the lint trap cavity.
Step 3: Clean the Dryer Drum
Dampen a cloth with warm water and mild soap and wipe the interior drum. This removes residue from dryer sheets and prevents transfer to clothing.
Step 4: Check the Vent
At least once a year, inspect the dryer vent hose behind the machine. Lint buildup here is a fire hazard. Vacuum if accessible, or schedule a professional cleaning if needed.
How Often Should You Do This?
Washing machine: Every 1–3 months, depending on use
Dryer lint screen: After every load
Dryer vent: Annually
Mark it on your seasonal homekeeping calendar—it’s a small task with outsized benefits.
A Final Thought
Caring for the tools that care for your home is a quiet form of stewardship. Clean machines work better, last longer, and support the rhythms of daily life with less effort. Like so many good habits, this one is simple, satisfying, and well worth keeping.
Deep Clean: Dishwasher
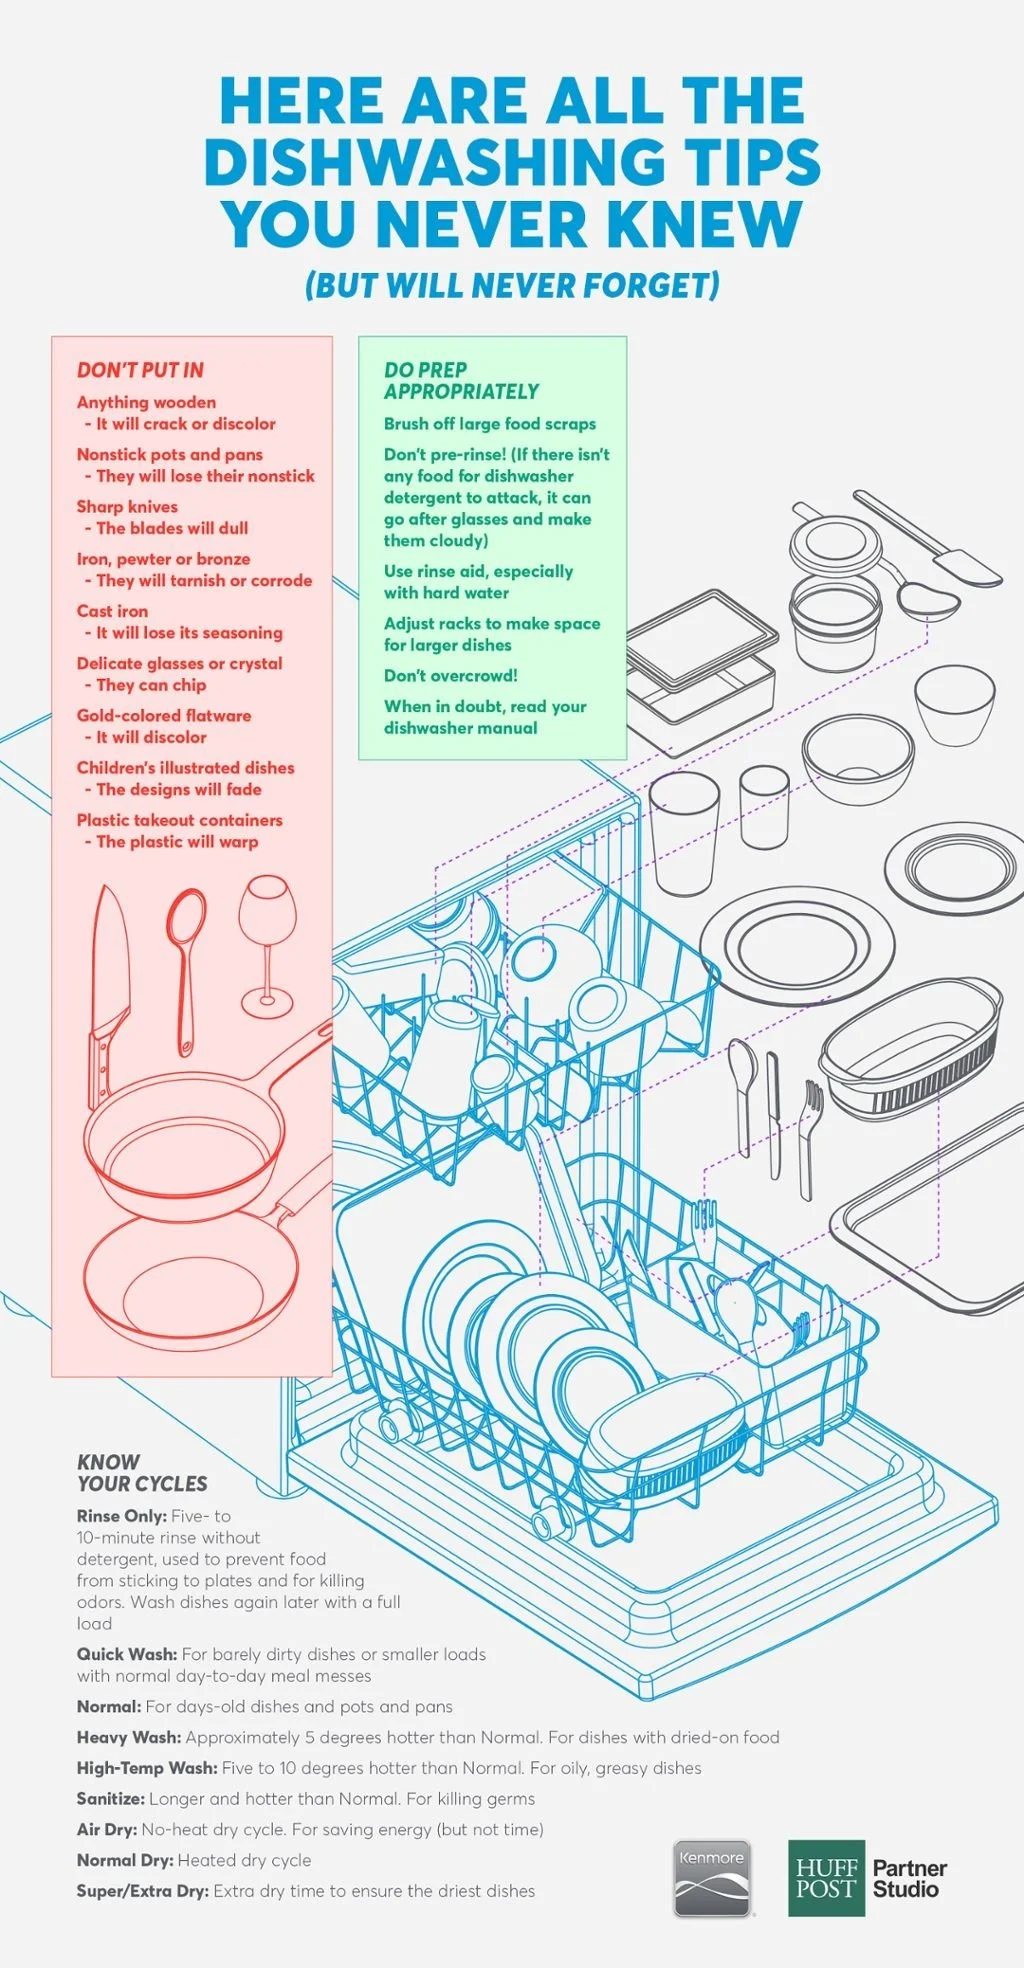
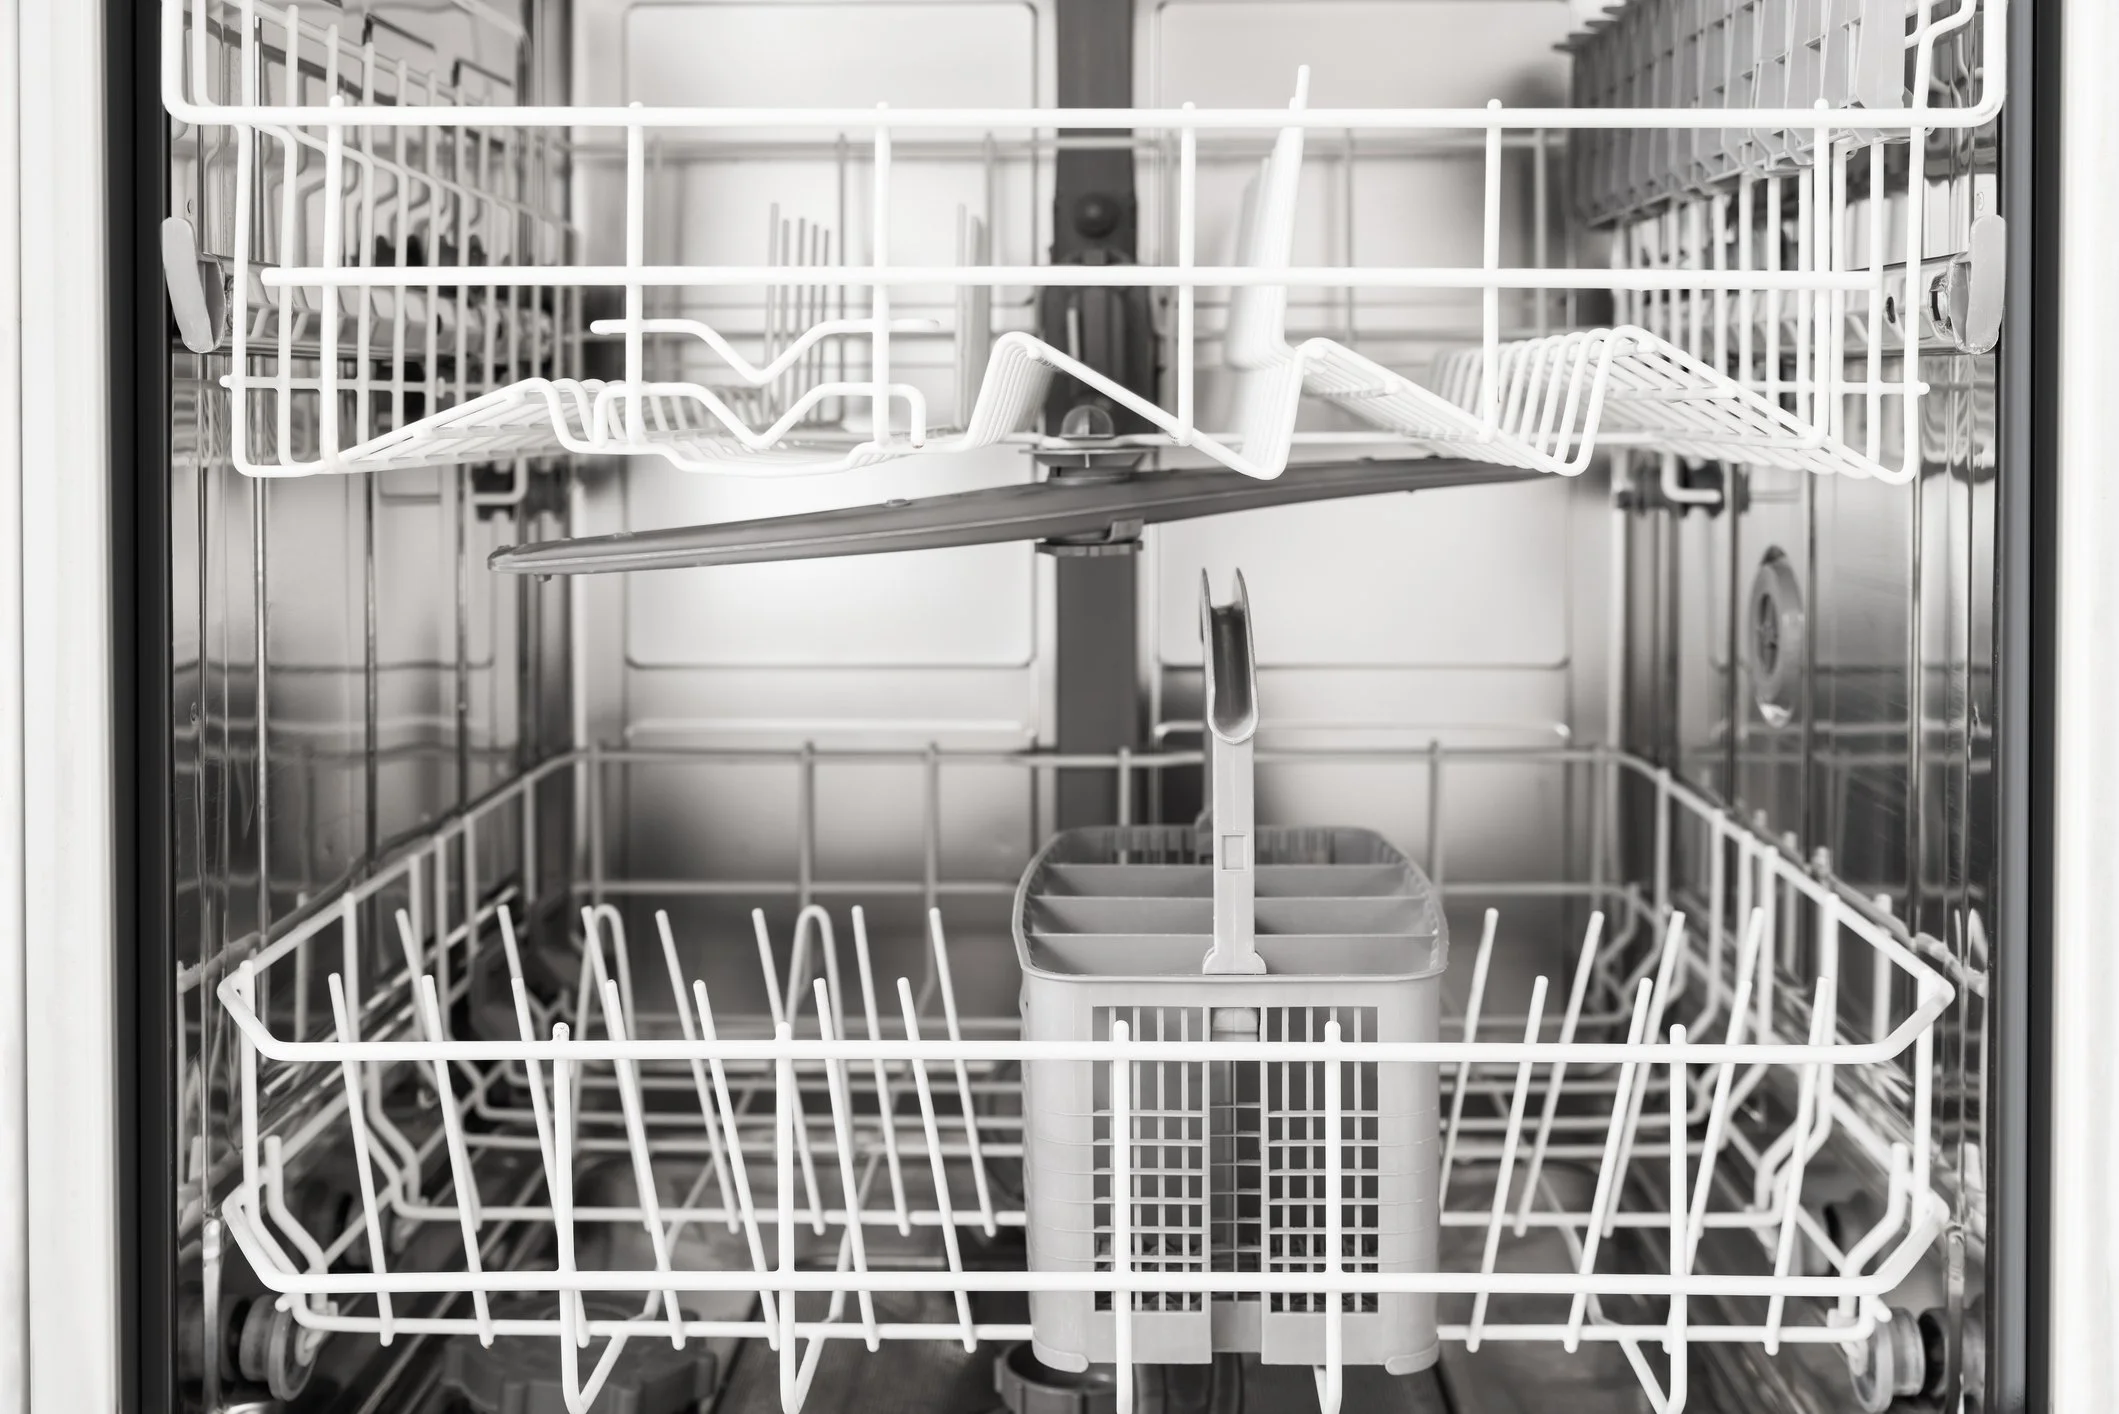
A dishwasher quietly does one of the hardest jobs in the home—yet it’s often overlooked when it comes to cleaning. Over time, grease, soap residue, and mineral deposits can build up, affecting performance and leaving dishes less than sparkling. The good news: cleaning your dishwasher is simple, inexpensive, and deeply satisfying.
Here’s a timeless, no-fuss approach you can return to every few months.
Why Cleaning Your Dishwasher Matters
A clean dishwasher:
Washes more efficiently
Smells fresh (not musty)
Extends the life of the appliance
Leaves glasses clearer and dishes truly clean
Think of it as caring for the tool that cares for your kitchen.
How Often Should You Clean It?
Light maintenance: Monthly
Deep clean: Every 3–4 months
Filter check: Monthly if you run it often
If you cook frequently or have hard water, lean toward the more frequent end.
What You’ll Need
White vinegar
Baking soda
Dish soap
An old toothbrush or soft scrub brush
A clean cloth or sponge
No specialty products required.
Step 1: Empty the Dishwasher
Start with a completely empty dishwasher. Remove any racks if they slide out easily—this gives you better access and makes cleaning simpler.
Step 2: Clean the Filter
Most dishwashers have a removable filter at the bottom.
Twist or lift it out (check your manual if unsure).
Rinse under warm water.
Use a drop of dish soap and a toothbrush to remove grease and debris.
Replace securely.
This step alone can dramatically improve performance.
Step 3: Wipe the Door and Gasket
Using a damp cloth with a little dish soap, wipe:
The inside of the door
Around the rubber gasket
The detergent dispenser
Food splatter and soap residue often hide here.
Step 4: Vinegar Wash
Place a dishwasher-safe bowl filled with 1–2 cups of white vinegar on the top rack.
Run a hot water cycle (no detergent).
This dissolves grease, removes mineral buildup, and deodorizes the interior.
Step 5: Baking Soda Freshen
After the vinegar cycle finishes:
Sprinkle 1 cup of baking soda across the bottom of the dishwasher.
Run a short, hot cycle.
This gently scrubs and leaves the interior fresh and bright.
Step 6: Clean the Spray Arms (Optional but Worth It)
If your dishwasher still isn’t performing well:
Check the spray arm holes for debris
Use a toothpick to gently clear clogs
Rinse under warm water
A Few Gentle Maintenance Habits
Scrape plates before loading (no need to pre-rinse)
Leave the door slightly ajar after cycles to prevent moisture buildup
Use the right amount of detergent—more is not better
A Final Thought
A clean dishwasher is one of those small, quiet wins that makes the kitchen feel cared for. Put it on your seasonal homekeeping list, return to it regularly, and your dishwasher will return the favor—load after load.
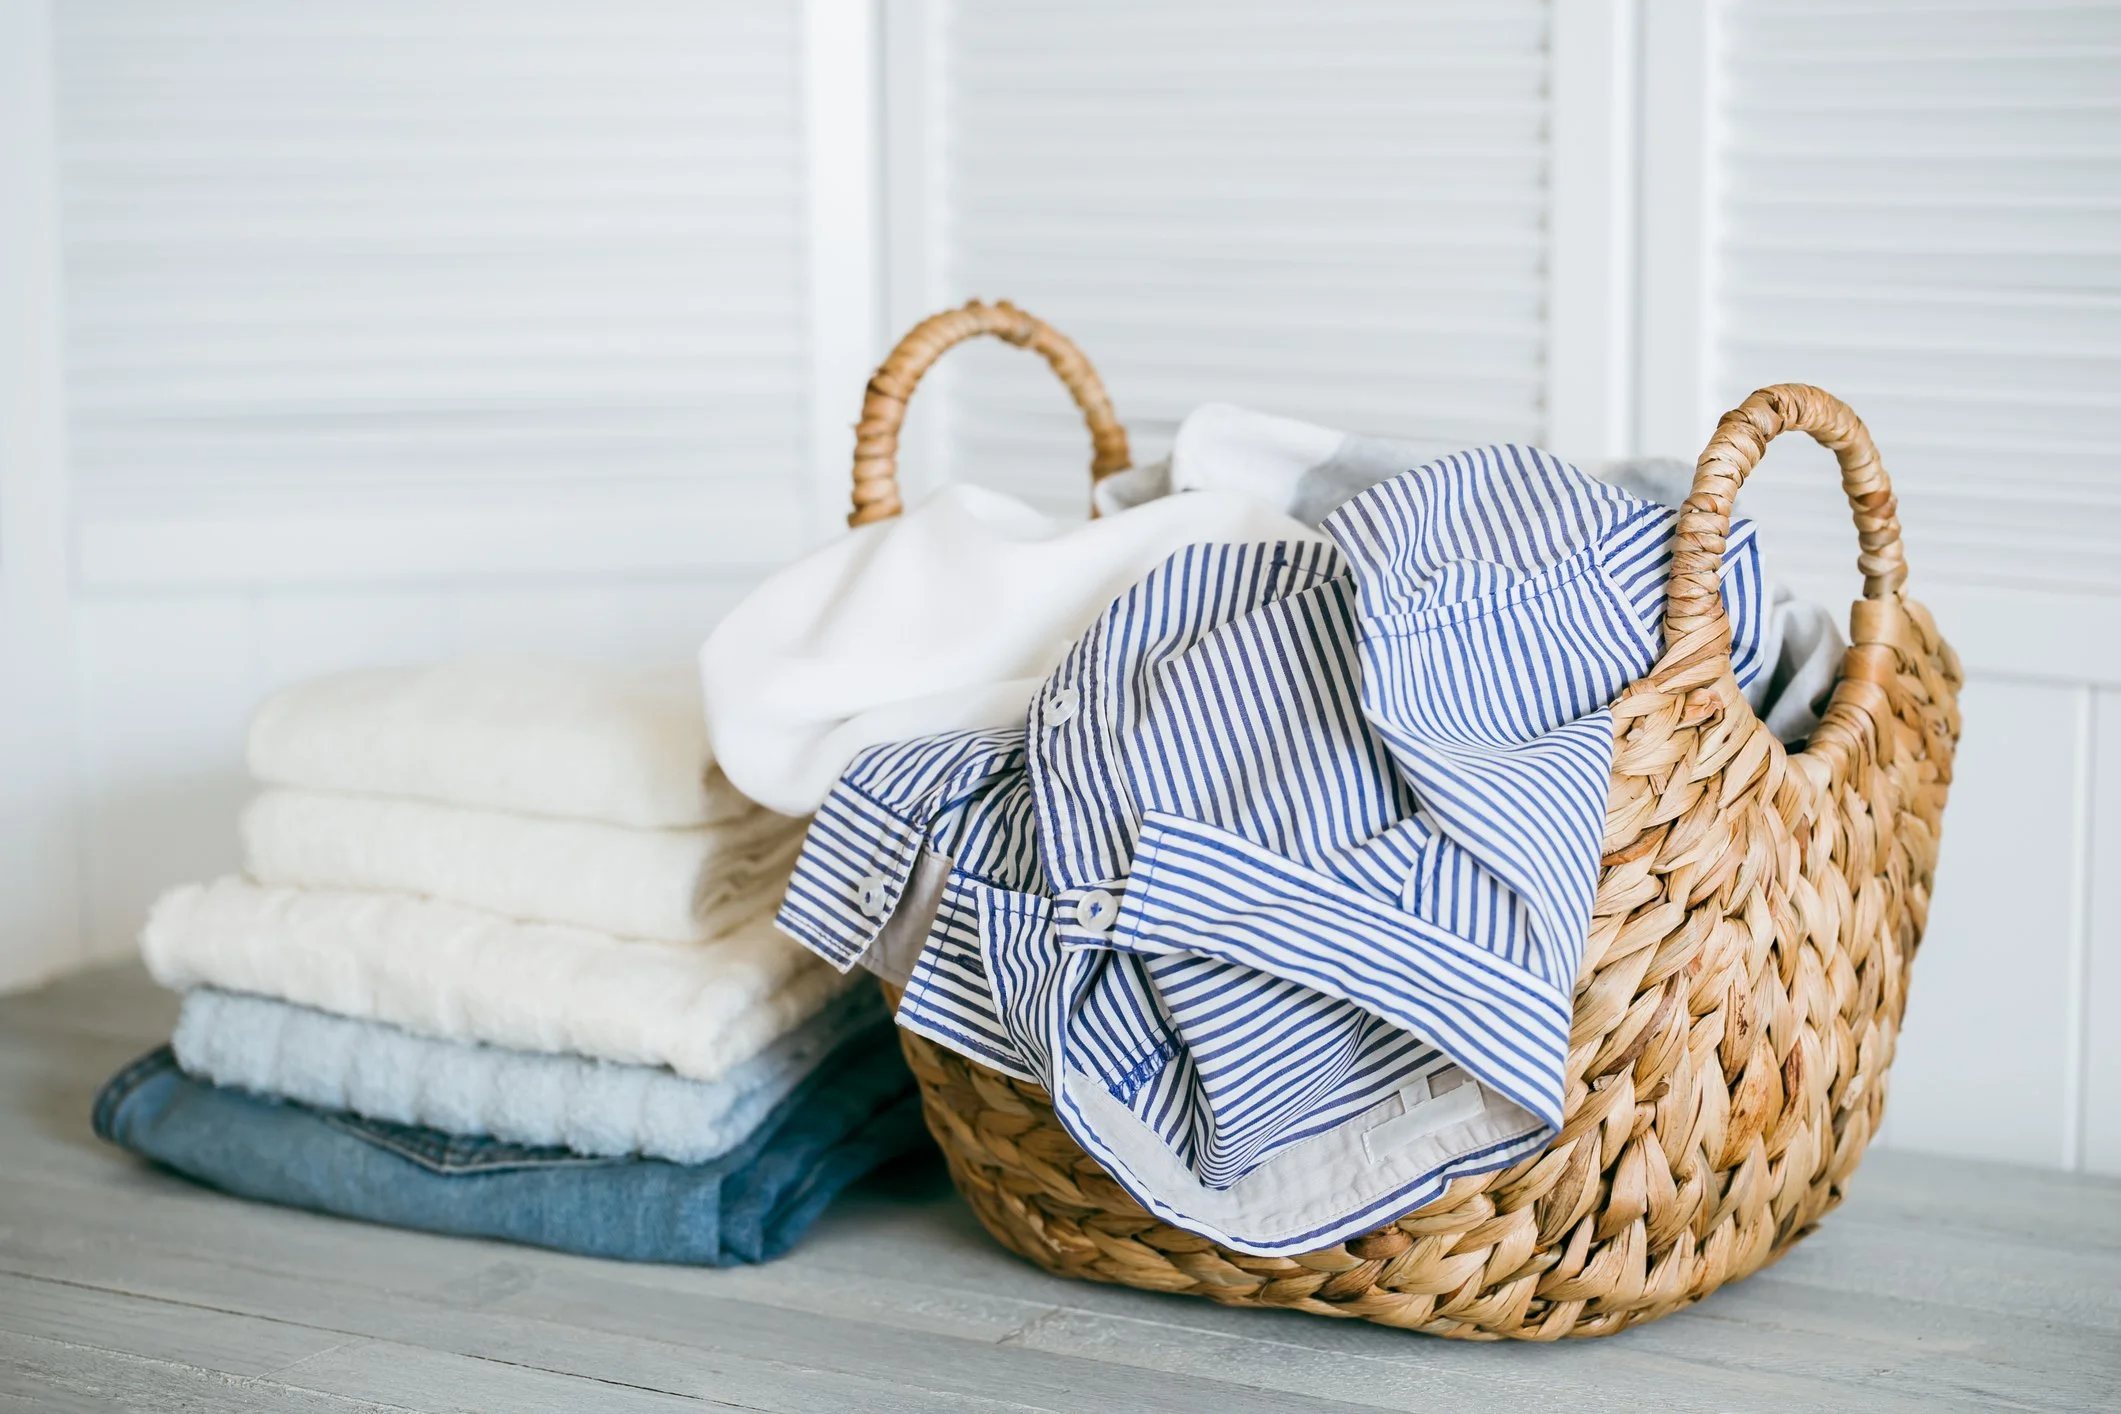
Do It Better: Laundry
Laundry is one of those household tasks most of us learn by doing—which means it is surprisingly easy to spend years washing everything on the same setting and hoping for the best. A few basic habits make a noticeable difference: clothes come cleaner, whites stay brighter, fabrics last longer, and stains are much easier to manage.
At a GLance
The easiest system is one you can repeat without thinking too much about it:
Sort thoughtfully. Pretreat stains. Choose the gentlest effective cycle and temperature. Measure detergent rather than guessing. Don't overload the machine. Check stains before drying. Use the lowest effective dryer temperature. Fold or hang everything promptly.
Before You Wash
Start by checking pockets, closing zippers and hooks, unbuttoning shirts, and turning dark or printed garments inside out. Treat visible stains before they go into the machine (more on this below).
Then sort. You don't need a dozen different loads, but separating laundry by color, fabric weight and care requirements is worthwhile. When in doubt, simply follow the garment's care label.
Whites — White sheets, towels, socks, underwear and washable white clothing.
Lights — Pale colors, pastels and light neutrals.
Darks — Black, navy, denim and other deep colors.
Delicates — Lingerie, fine knits and anything calling for a gentle cycle.
Towels & Household Linens — Towels, cleaning cloths and other sturdy household laundry can generally be washed separately from clothing.
Choose the Right Cycle
You don't need to use every setting on the machine. A handful will handle nearly everything.
Normal — The everyday workhorse. Use it for cotton clothing, T-shirts, pajamas, socks and other sturdy washable fabrics.
Heavy Duty — Best reserved for genuinely sturdy, heavily soiled items such as work clothes, cleaning cloths or particularly dirty towels. More agitation isn't necessarily better for ordinary clothing.
Delicates/Gentle — Use for lingerie, delicate fabrics and garments that need less agitation. Mesh laundry bags are useful for bras, hosiery and small or easily tangled items.
Permanent Press — A good choice for synthetic fabrics, blends and wrinkle-prone clothing. It generally uses gentler agitation and spinning than a normal cycle.
Bedding/Bulky — Use for sheets, blankets, comforters and other large items when your machine offers the setting. Don't pack the drum tightly; bulky pieces need room to move.
Choose the Right Water Temperature
For most everyday laundry, cold water is an excellent default. It is gentler on fabrics and colors and works well with modern detergents.
Use warm water for sturdy light-colored clothing and moderately soiled items when the care label allows it.
Reserve hot water for washable whites, towels and linens when extra cleaning is needed and the care instructions permit it. Hot water can shrink, fade or damage some fabrics, so it shouldn't automatically be the default for "really dirty."
Detergent: Less Is Often More
Use a good-quality detergent and measure it according to the product directions, adjusting for load size, soil level, machine type and water hardness.
More detergent does not mean cleaner clothes. Too much can leave residue behind, trap odors and make fabrics feel stiff or dingy.
For most households, one dependable everyday detergent is sufficient. Specialty products earn their place for a few specific jobs.
Enzyme detergent is particularly useful for food, sweat, grass, blood and other protein- or organic-based stains.
Delicate or wool wash should be used for washable wool, cashmere and other fibers that call for a specialty cleanser.
Non-chlorine or oxygen bleach can help brighten whites and colors and tackle stubborn stains without the harshness of traditional chlorine bleach. Check labels and product instructions first.
Chlorine bleach and fabric softeners should be avoided. Chlorine bleach can weaken fibers, damage certain fabrics and cause discoloration — even if it’s white. And fabric softener’s coating can reduce absorbency or interfere with moisture-wicking properties.
How to Treat a Stain
The best time to treat a stain is before it dries. I like to keep a spray bottle of stain treatment by each hamper, so I can treat stains as they arise.
First, remove any excess without rubbing the stain further into the fabric. Blot liquids with a clean white cloth; gently lift solids away. Apply a stain remover directly to the affected area, working from the outside of the stain toward the center. Gently work it into the fabric with your fingers or a soft brush if the material can tolerate it.
Allow the treatment to sit according to the product directions—often for extended periods—before washing.
For a stubborn stain, soaking the item in water with an oxygen-based stain remover can be particularly effective, provided the fabric is safe for soaking.
Most importantly: check the stain before putting the garment in the dryer. Heat can set a stain permanently. If you can still see it, treat and wash it again.
Blood — Rinse or soak in cold water first. Never begin with hot water, which can set the protein in the stain.
Grease and Oil — Pretreat with a grease-cutting stain remover or a small amount of liquid dish soap, then wash according to the care label.
Red Wine, Berries and Coffee — Blot promptly, rinse when appropriate and pretreat with stain remover. Oxygen bleach can be useful for lingering discoloration on washable fabrics.
Grass and Food — An enzyme-based detergent or stain treatment is particularly helpful.
Makeup — Remove excess product first, then pretreat. Oil-based makeup may need a grease-cutting treatment before washing.
Always test unfamiliar treatments on an inconspicuous area, particularly with delicate or deeply colored fabrics.
Loading the Washer
Don't cram the machine full. Clothes need enough room to circulate through the water and detergent.
As a general rule, fill the drum loosely rather than compressing everything to squeeze in one more towel. An overloaded washer cleans less effectively and rinses less thoroughly.
Add detergent and laundry additives according to your machine's instructions rather than pouring products indiscriminately over clothing.
Drying
Before transferring a load to the dryer, check once more for stains.
Shake garments out as you move them over. This helps reduce wrinkles and prevents sheets or clothing from entering the dryer twisted into a ball.
Use lower heat whenever practical. High heat is hard on elastic, synthetics and natural fibers and can cause shrinking and premature wear. Towels and sturdy cotton linens generally tolerate more heat. Everyday clothing usually benefits from medium or low heat. Delicates, activewear and anything prone to shrinking are often better air-dried.
Remove clothes promptly when they're dry. Overdrying is unnecessarily hard on fabrics—and leaving a finished load sitting in the dryer is how a perfectly respectable shirt becomes an ironing project.
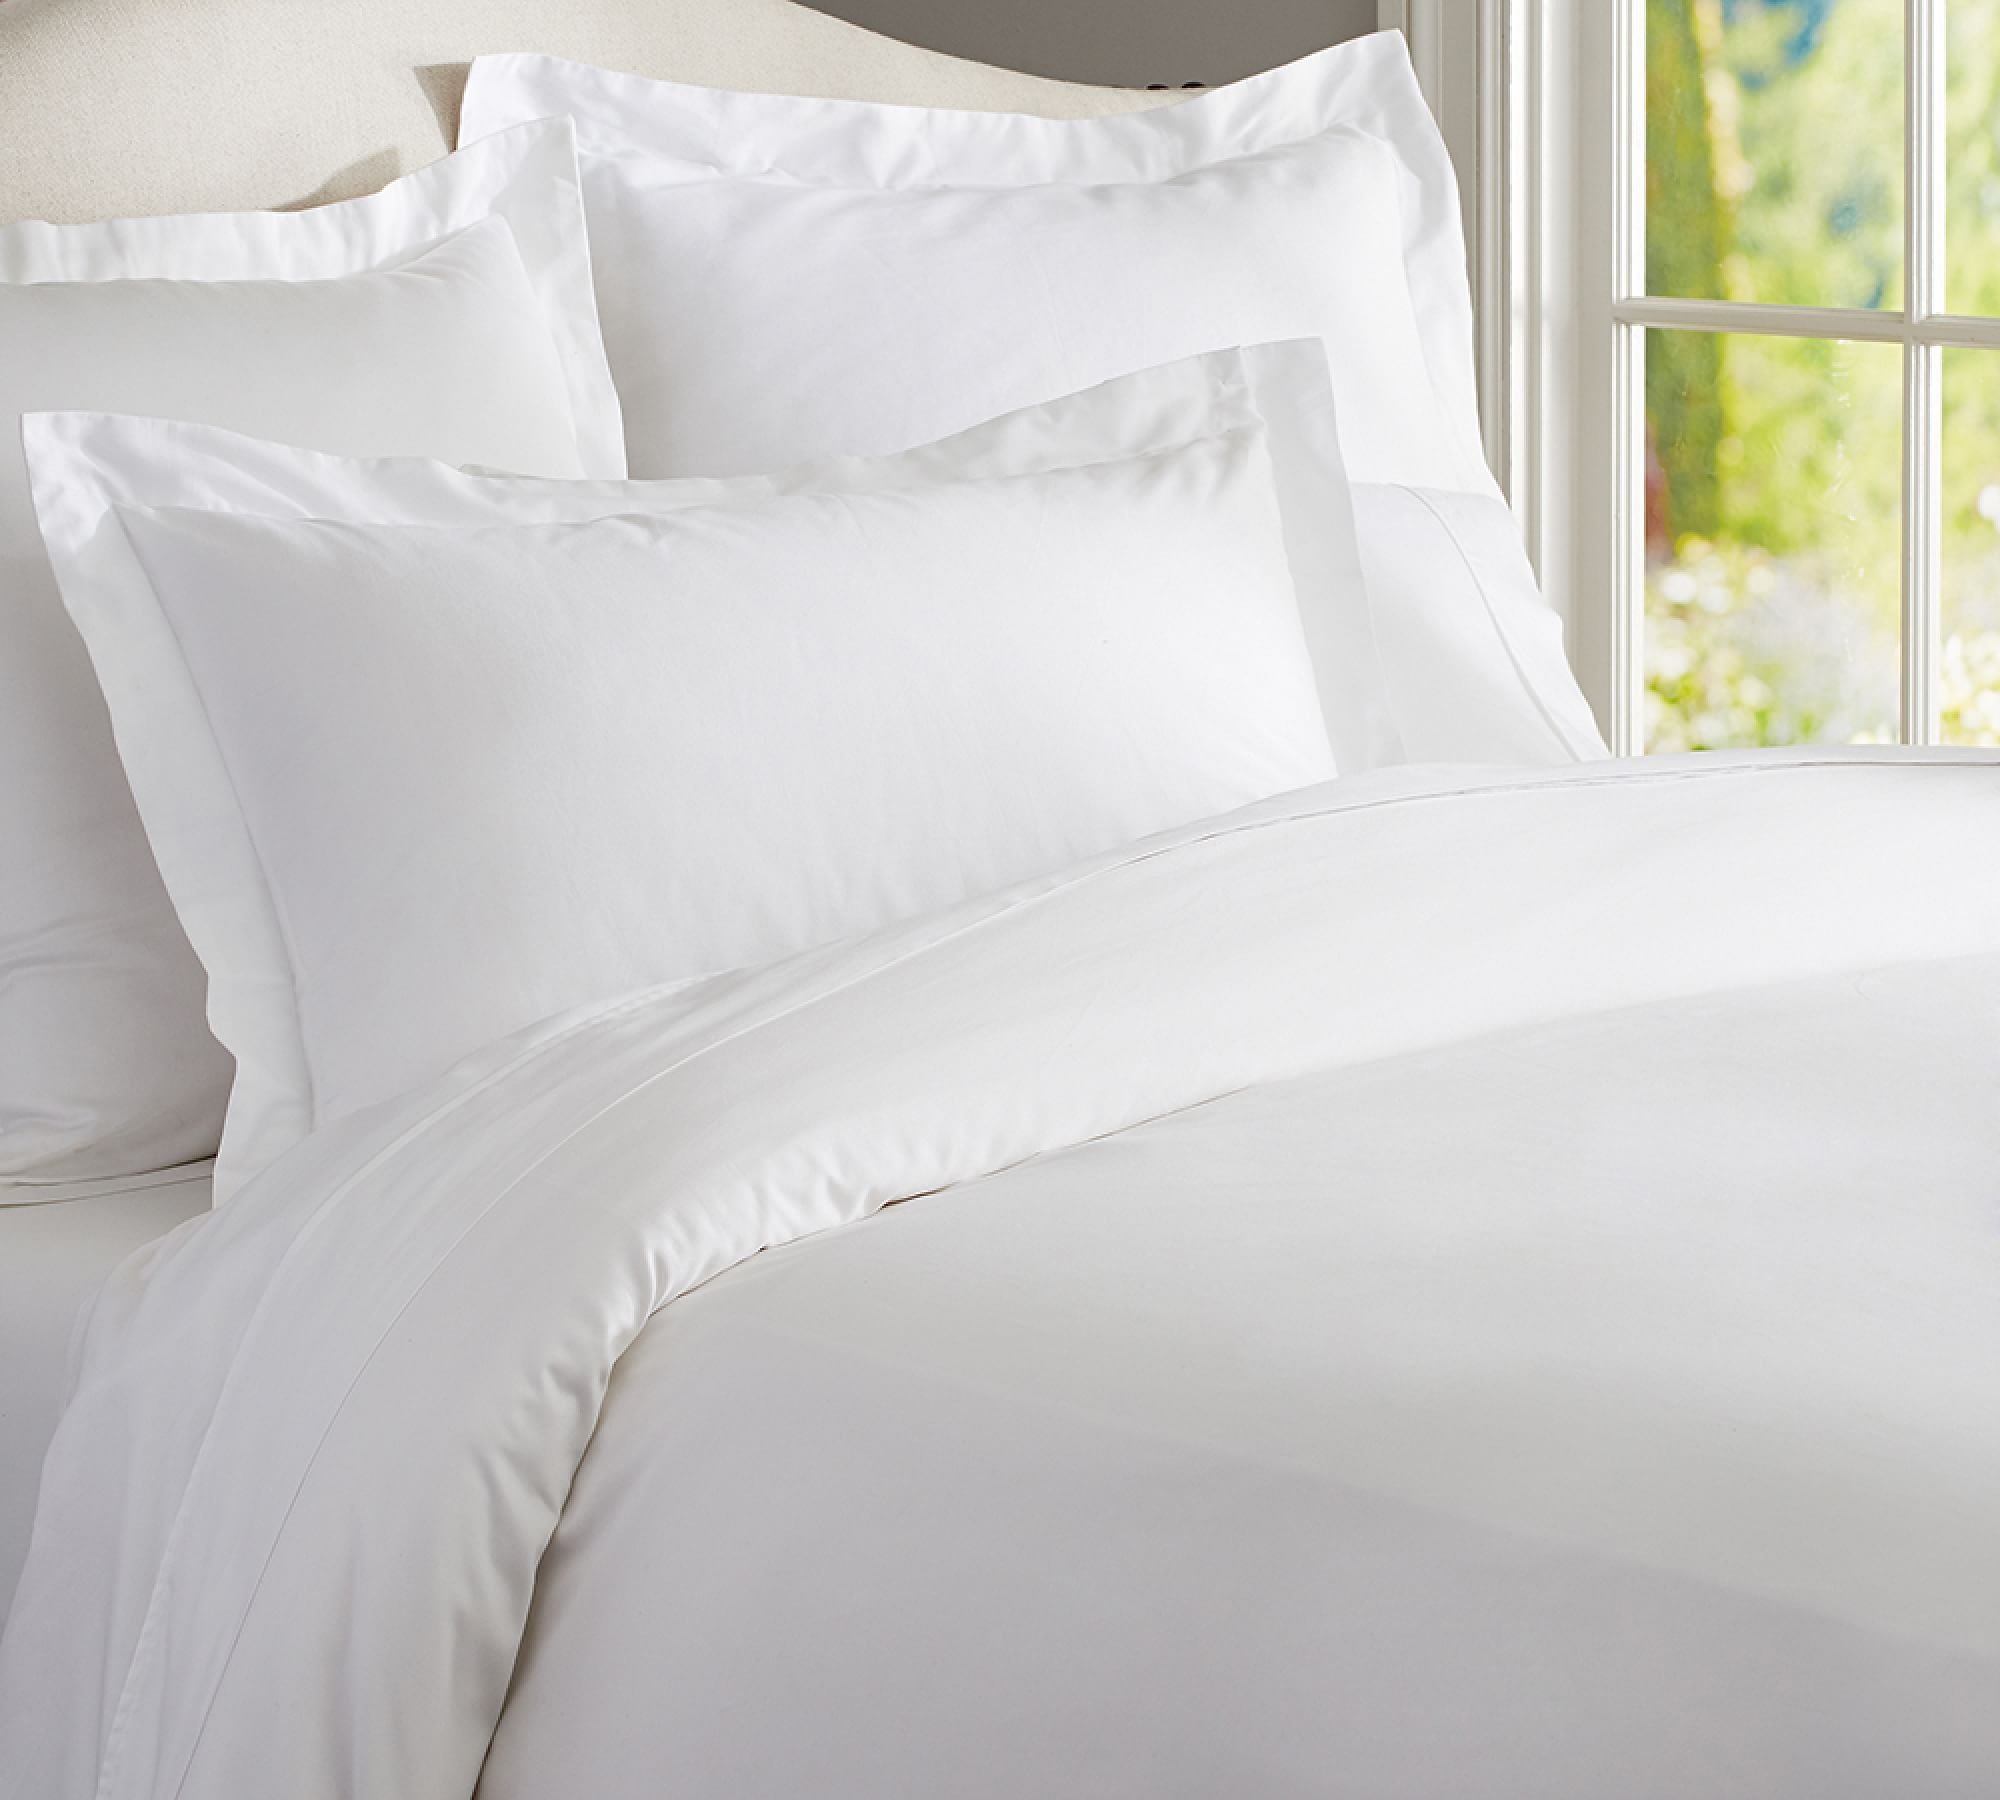
Do It Better: Make The Bed

Having a bed that’s easy to make makes it easier to make the bed.
A well-made bed is one of the simplest ways to make a bedroom feel orderly. It doesn’t require an elaborate collection of pillows or expensive linens; the fundamentals matter far more. Sheets that fit properly, a duvet that stays where it belongs, and a few small techniques make the bed more comfortable to sleep in—and much easier to make each morning. Here is a short overview of the key components and how to layer them for a beautiful bed.
Mattress, Pad & Protector
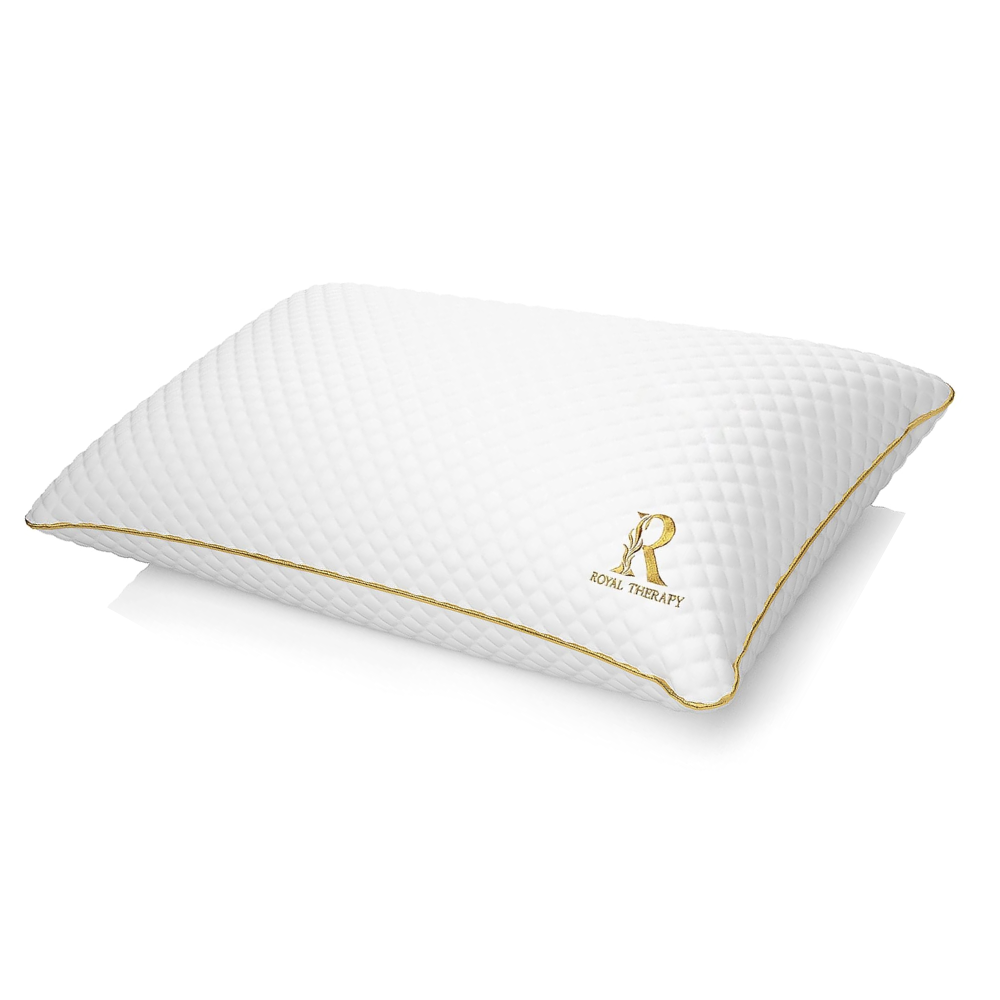
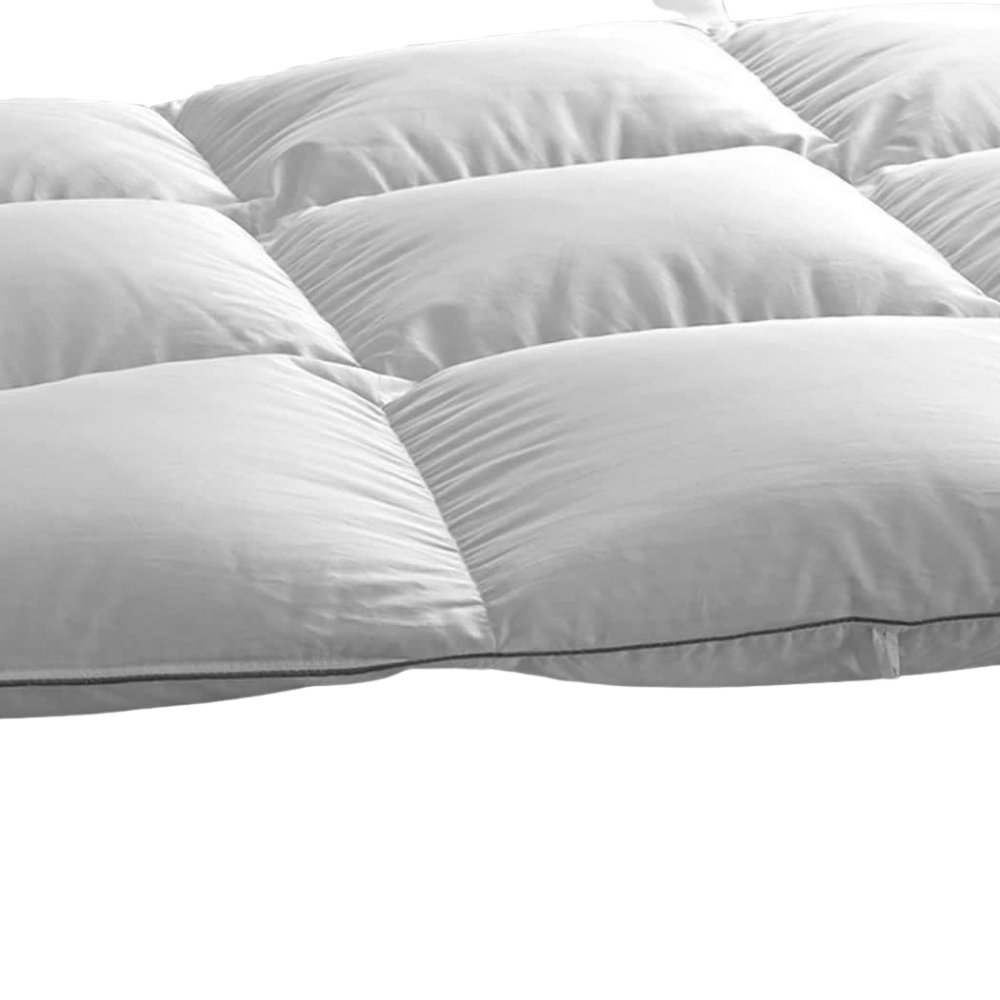
Before adding anything else, make sure the mattress pad or protector is lying completely flat. Smooth out any wrinkles and pull the elastic securely beneath each corner of the mattress. If you use a mattress topper, it goes directly on the mattress, beneath the mattress protector or pad. (My favorites are below.)
Most modern mattresses cannot be flipped but should be rotated every 3-6 months to ensure even wear.

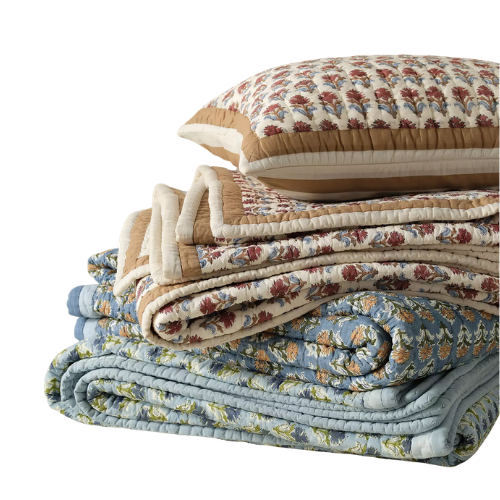
FITTED SHEET
A fitted sheet should be deep enough to wrap fully around the mattress, with the elastic tucked securely underneath rather than simply gripping the sides. Check the pocket depth of your sheets against the actual depth of your mattress, including any topper. A sheet that is too shallow will continually pull off the corners; one that is excessively deep tends to bunch.
Start by fitting one corner at the head of the bed, followed by the opposite corner. Move to the foot of the bed and repeat. Run your hands over the surface when you are finished, pulling the sheet taut and smoothing any wrinkles. The tag should be in the lower-right corner when you are standing at the foot of the bed.
FLAT SHEET
Drape the flat sheet over the bed with an even amount hanging over both sides. If the sheet has a finished or patterned side, place that side face down. When you fold the top of the sheet back over the blanket or duvet, the finished side (or top stitching) will then be visible.
Pull the sheet to the head of the bed, leaving enough excess at the top for the desired fold. For everyday use, a simple, neat tuck is perfectly sufficient. Tuck the base first. Then at each lower corner, pull the excess towards you to create a triangle and tuck the tail in on the side. If you prefer your feet less confined, leave the sides untucked while keeping the foot of the sheet secured.
Quilt or Blanket
A lightweight blanket or coverlet adds warmth and gives you more flexibility through the seasons. Lay it evenly over the flat sheet, leaving 3-6 inches of sheet exposed at the head of the bed. Tuck the excess on the sides and foot just as you have the flat sheet.
Fold the top of the flat sheet back over the blanket. This creates a clean finished edge and keeps the blanket away from your face.
Duvet & Duvet Insert
This is often the most cumbersome part of making a bed, but there is a reliable way to do it. Turn the duvet cover inside out and lay it flat on the bed with the opening at the foot. Place the duvet insert directly on top, carefully matching all four corners and paying close attention to which direction is longer. Secure any interior corner ties or loops, if your duvet has them. Avoid securing with safety pins as this can damage the fabric.
Reach inside the cover and grasp the two top corners of the duvet cover from the inside, catching the corresponding corners of the insert at the same time. Holding both layers firmly, lift and shake the duvet cover down over the insert until it turns right-side out around it. Pro tip: If you’re short, like me, stand on the bed to get enough height to let the insert shake down into the cover. Fasten the buttons, snaps or zipper at the bottom (most are designed to hide these closures) and give the entire duvet another good shake before styling.
Tip: If you like the plush, generously-filled look, be sure to check dimensions rather than relying solely on the size name, because bedding measurements vary considerably by manufacturer.
For a layered hotel look, leave two thirds of the duvet exposed at the foot of the bed with the top third folded back. Before adding pillows, smooth the duvet from the center outward rather than pulling only at its edges. This distributes the filling more evenly.
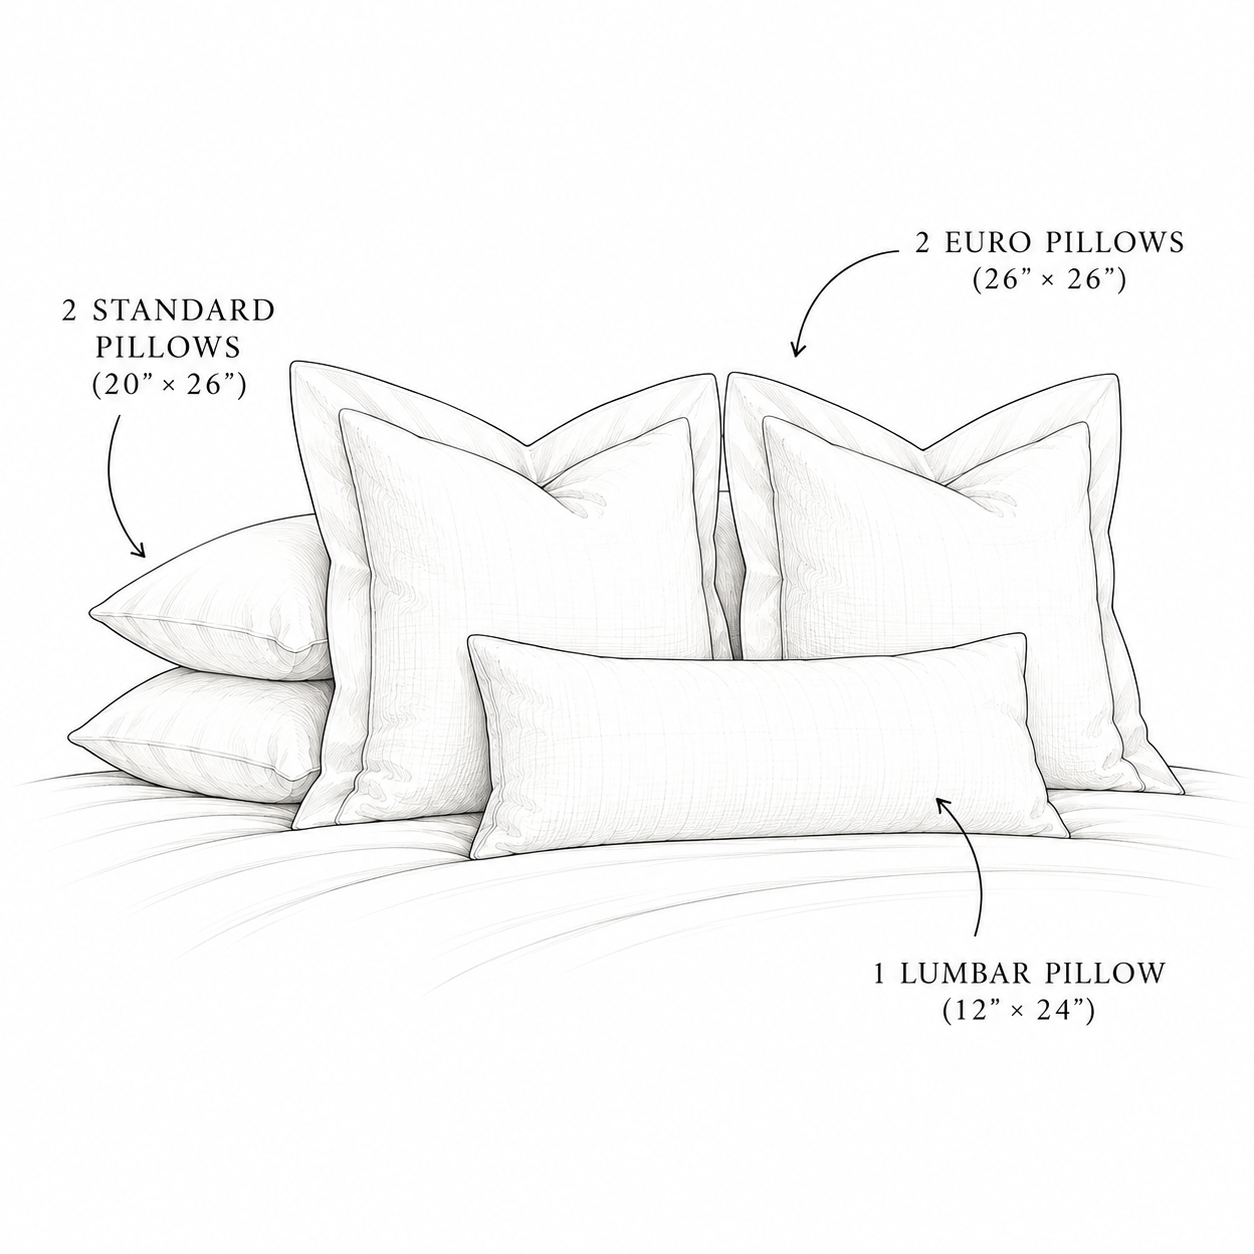
King

Queen
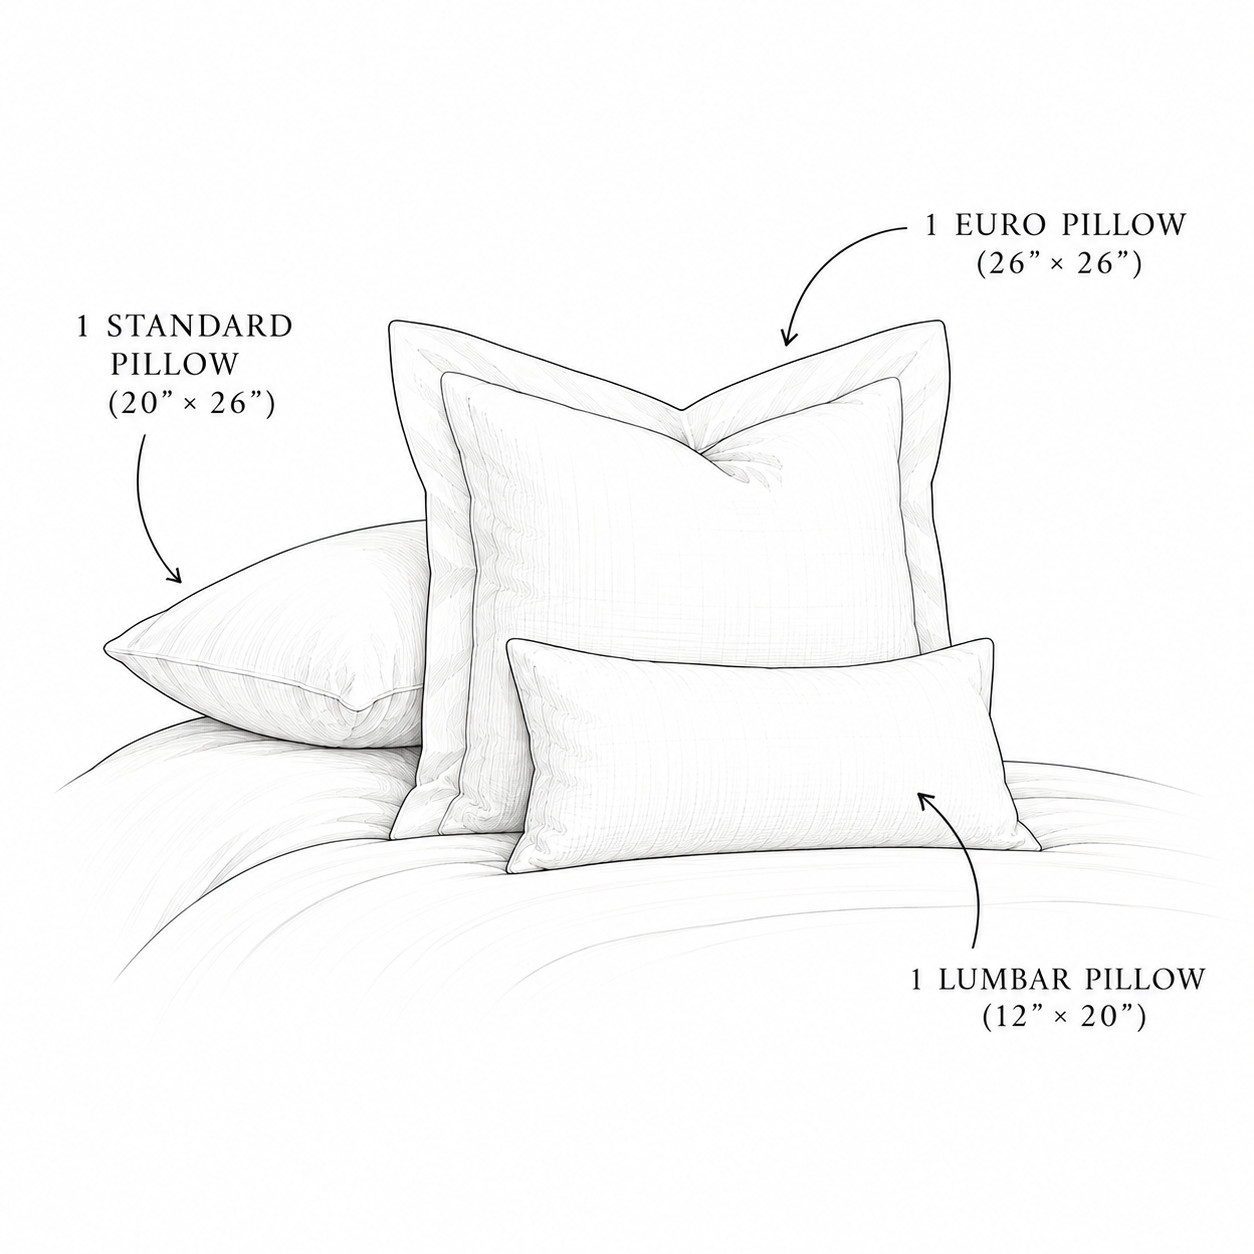
Twin
PILLOWS
Start with the pillows you actually sleep on. Smooth the pillowcases, straighten the seams and place the openings toward the center of the bed so they are less visible from the sides.
Next, add a few decorative pillows. King beds look best with three euro pillows plus a long lumbar. Queen and double beds take two euro pillows and a smaller lumbar. Twins require just one euro and one small accent pillow.
You May Also Like