Make The Bed
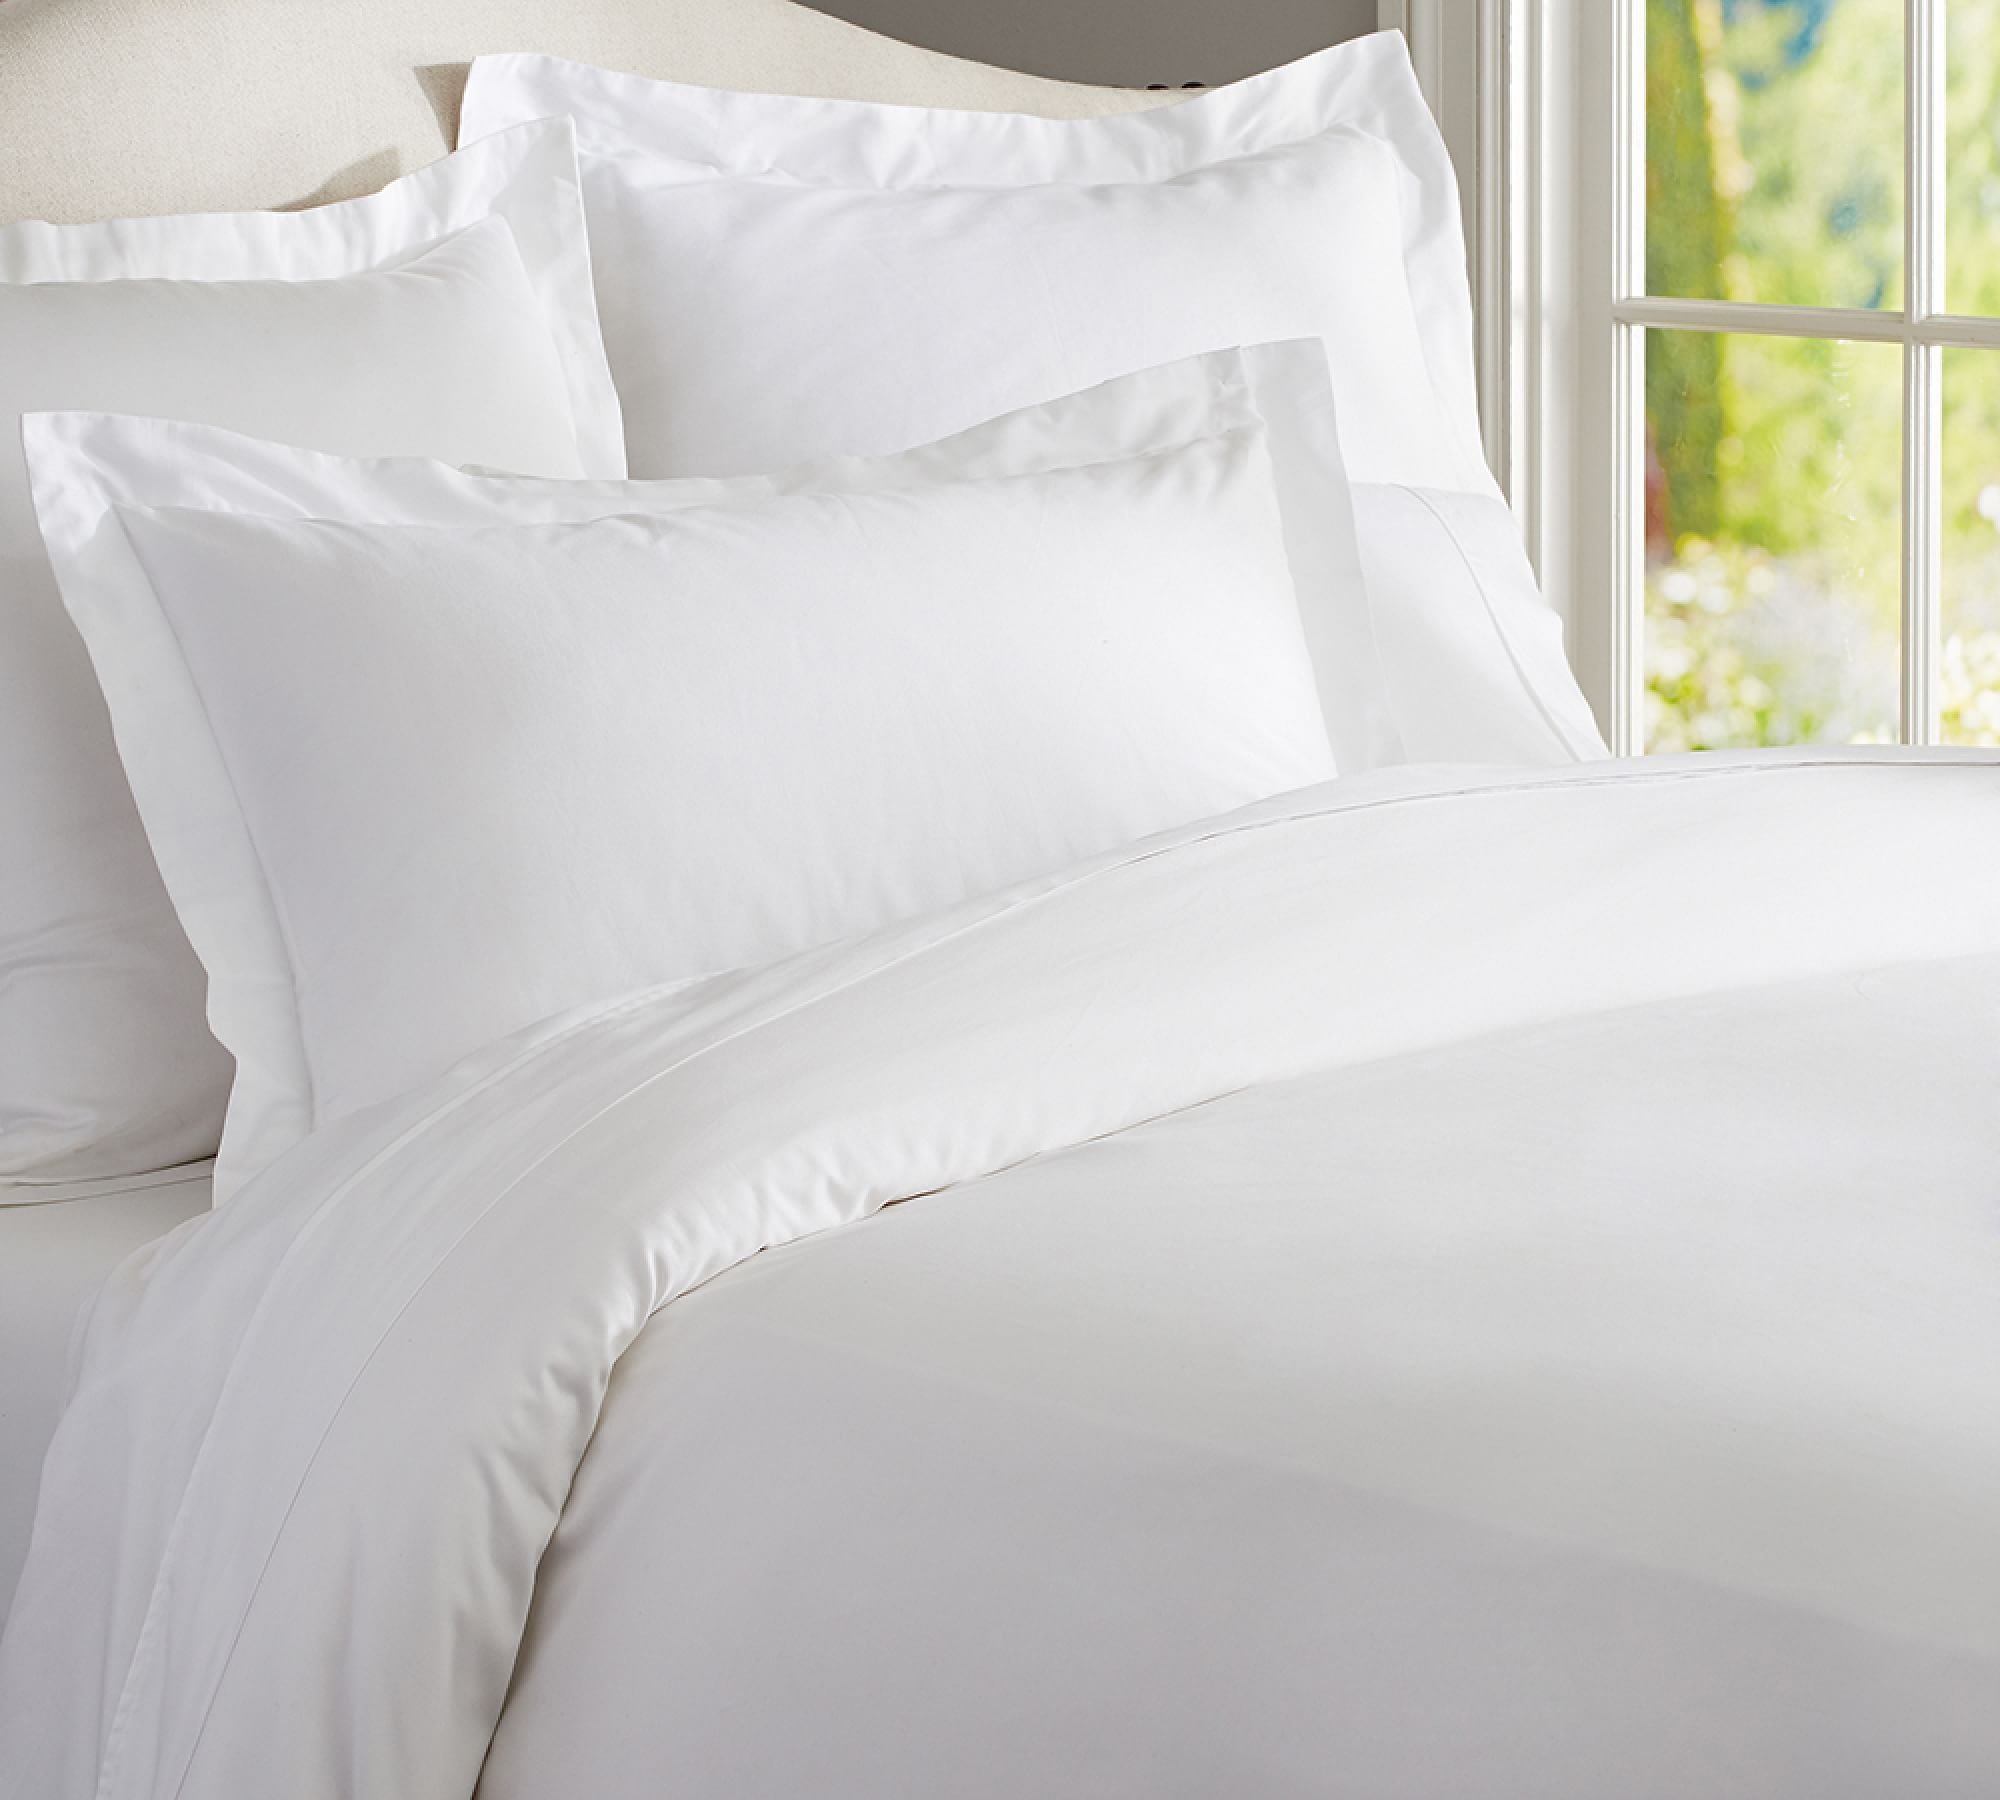
Having a bed that’s easy to make makes it easier to make the bed.
A well-made bed is one of the simplest ways to make a bedroom feel orderly. It doesn’t require an elaborate collection of pillows or expensive linens; the fundamentals matter far more. Sheets that fit properly, a duvet that stays where it belongs, and a few small techniques make the bed more comfortable to sleep in—and much easier to make each morning. Here is a short overview of the key components and how to layer them for a beautiful bed.
Mattress, Pad & Protector
A great bed starts with a great foundation — just the right amount of support and non-toxic pieces that are easy to care for.
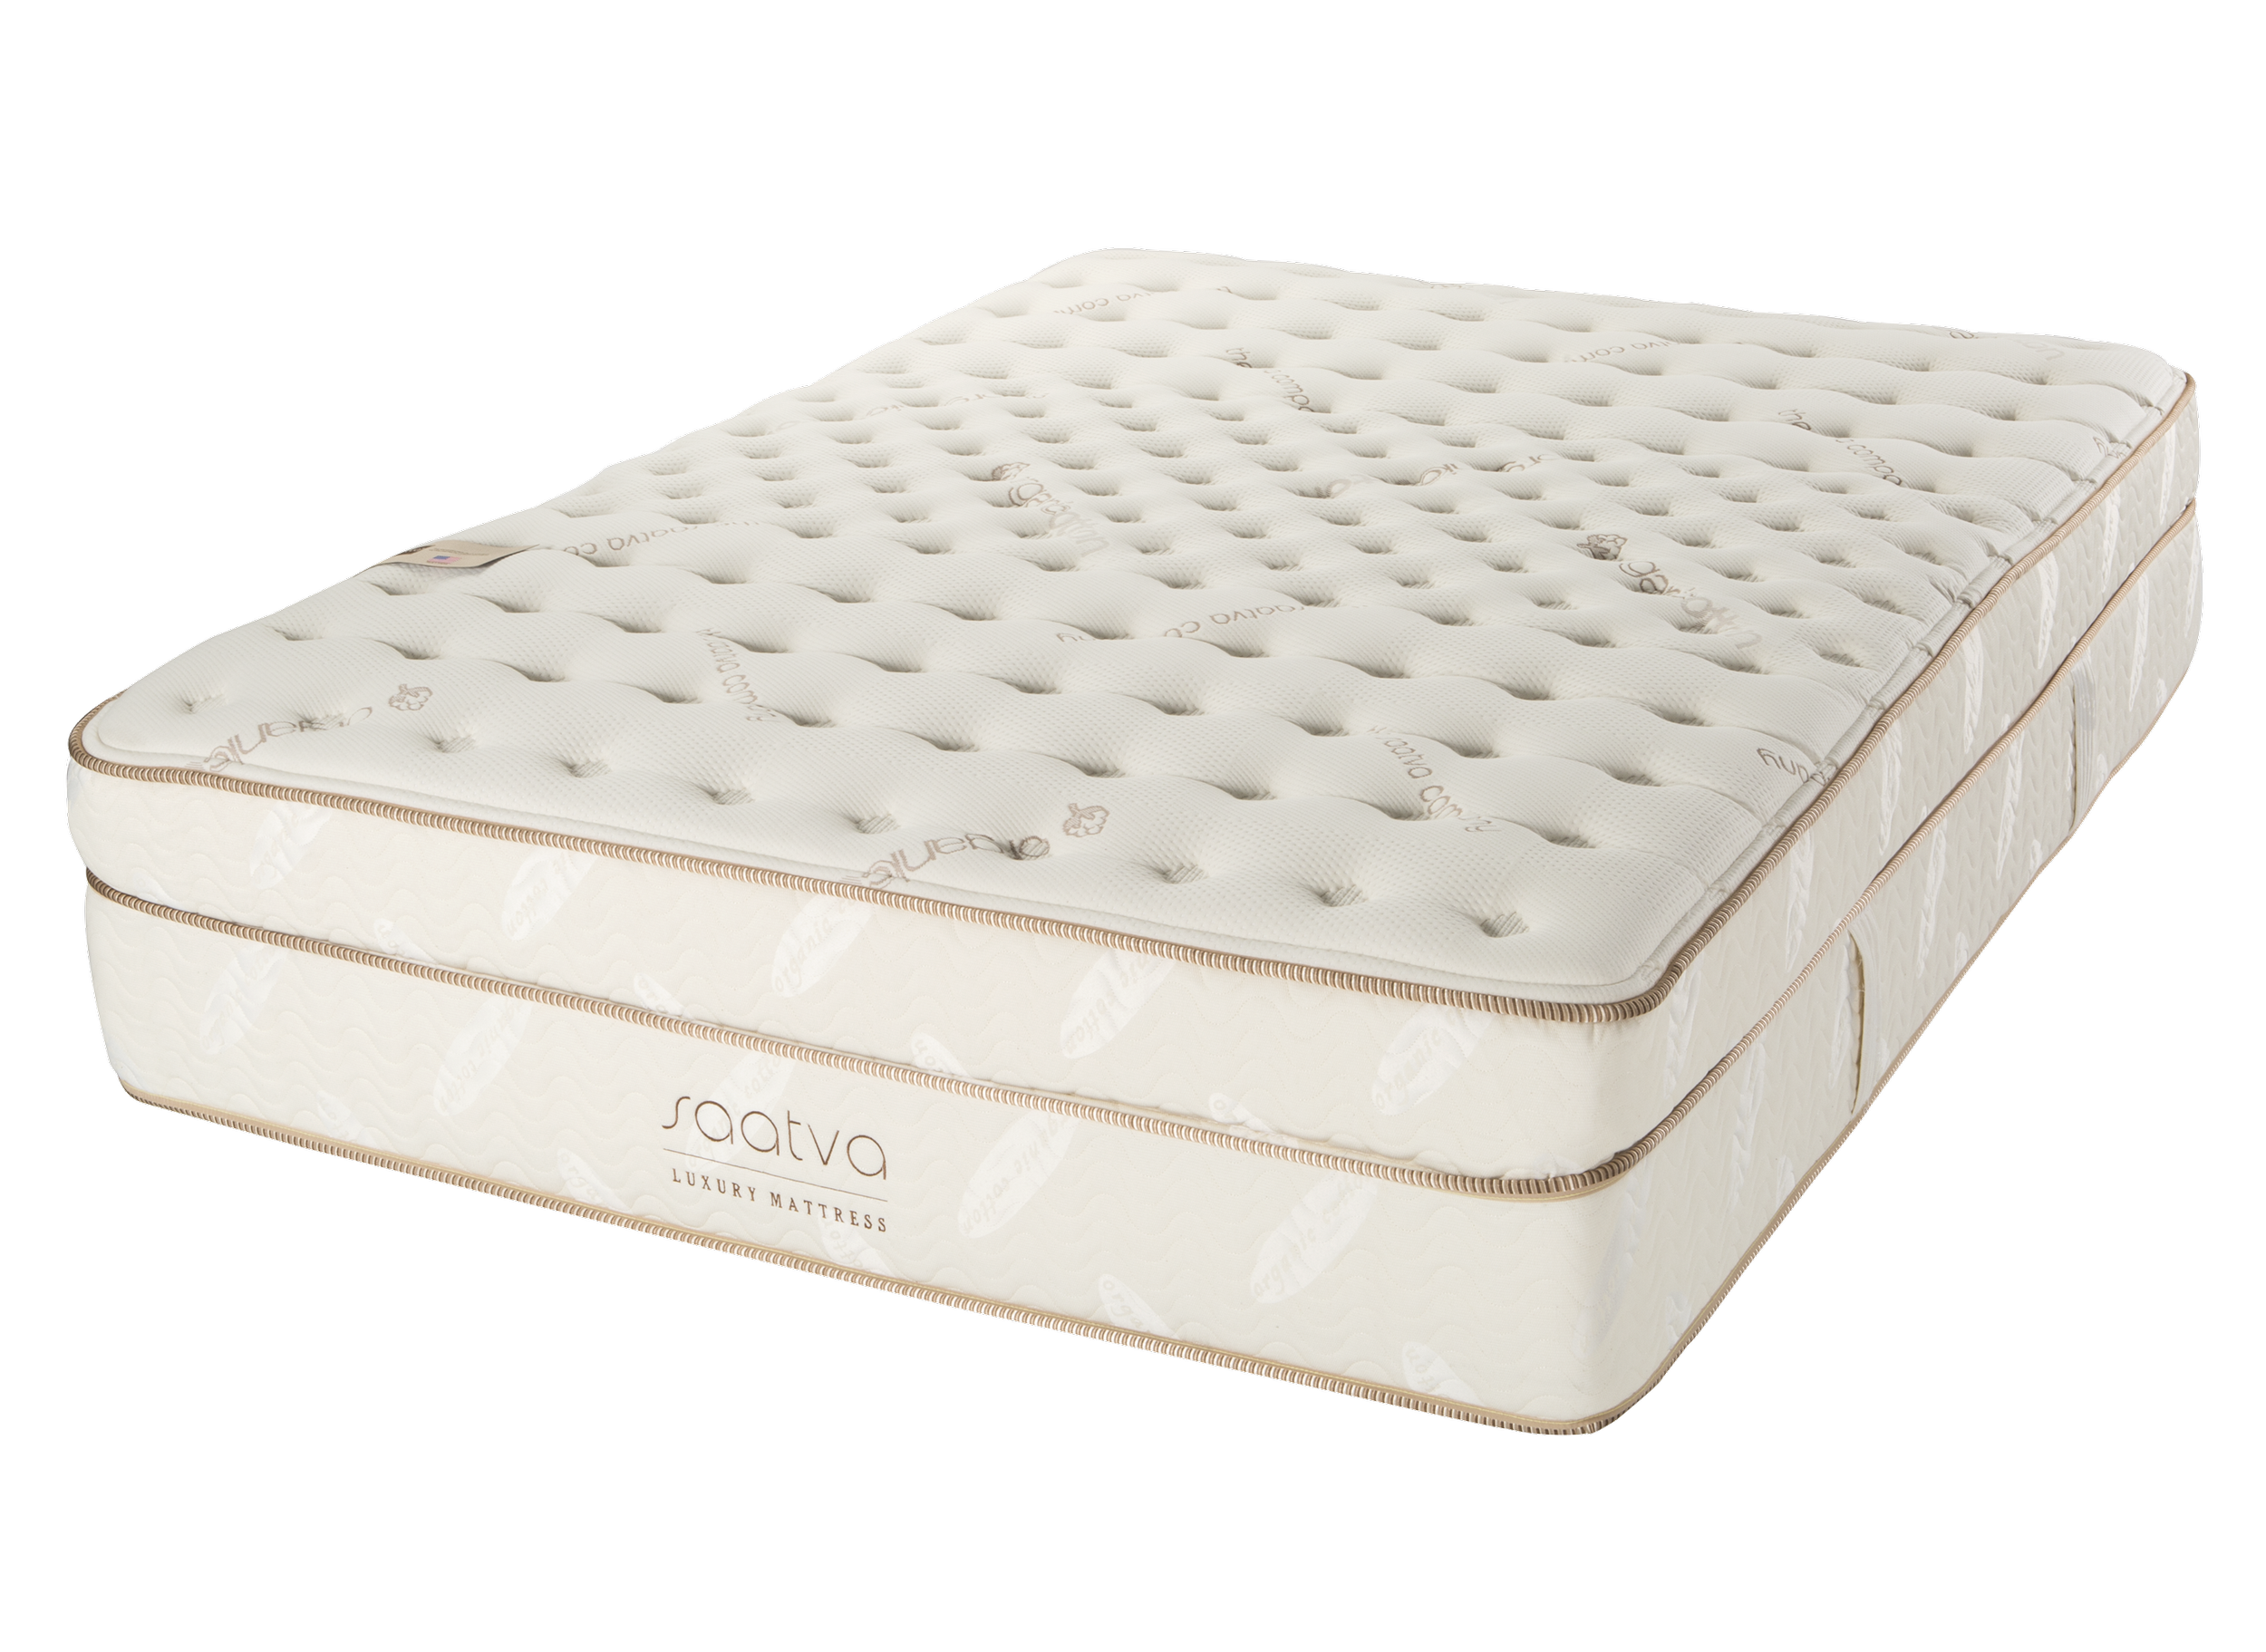
We have Saatva mattresses on all of primary beds and a Saatva topper on our guest bed. We looked at many brands — Saatva delivered a well-priced, non-toxic option with glowing reviews and solid customer service.
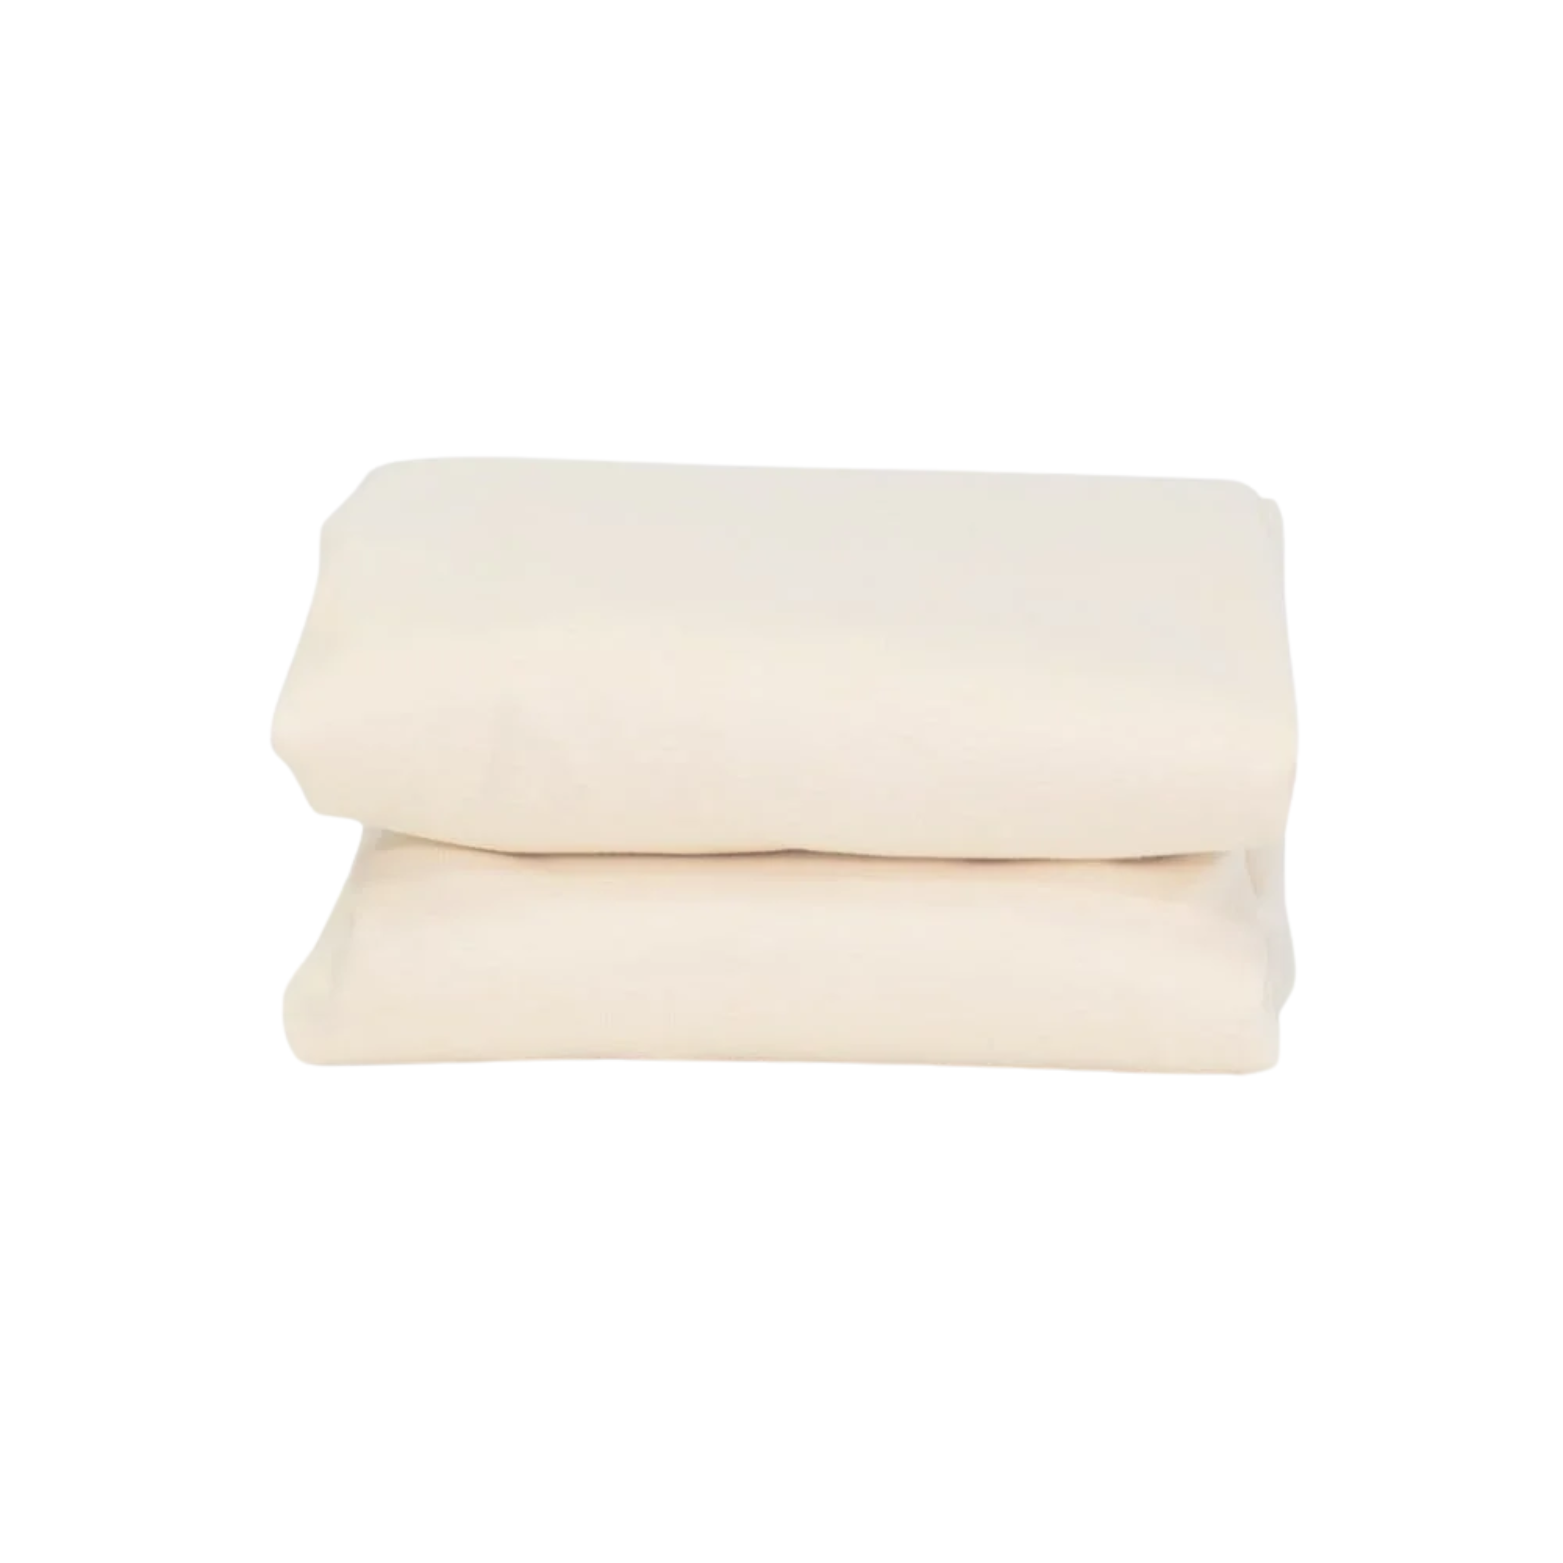
The Naturepedic Waterproof Mattress Protector is a must-have for kids. We’ve been through our fair share of accidents and it has protected our mattresses through it all. Two layers of organic cotton sandwich a thin layer of GOTS-certified poly in the middle. Be sure to wash according to the directions.
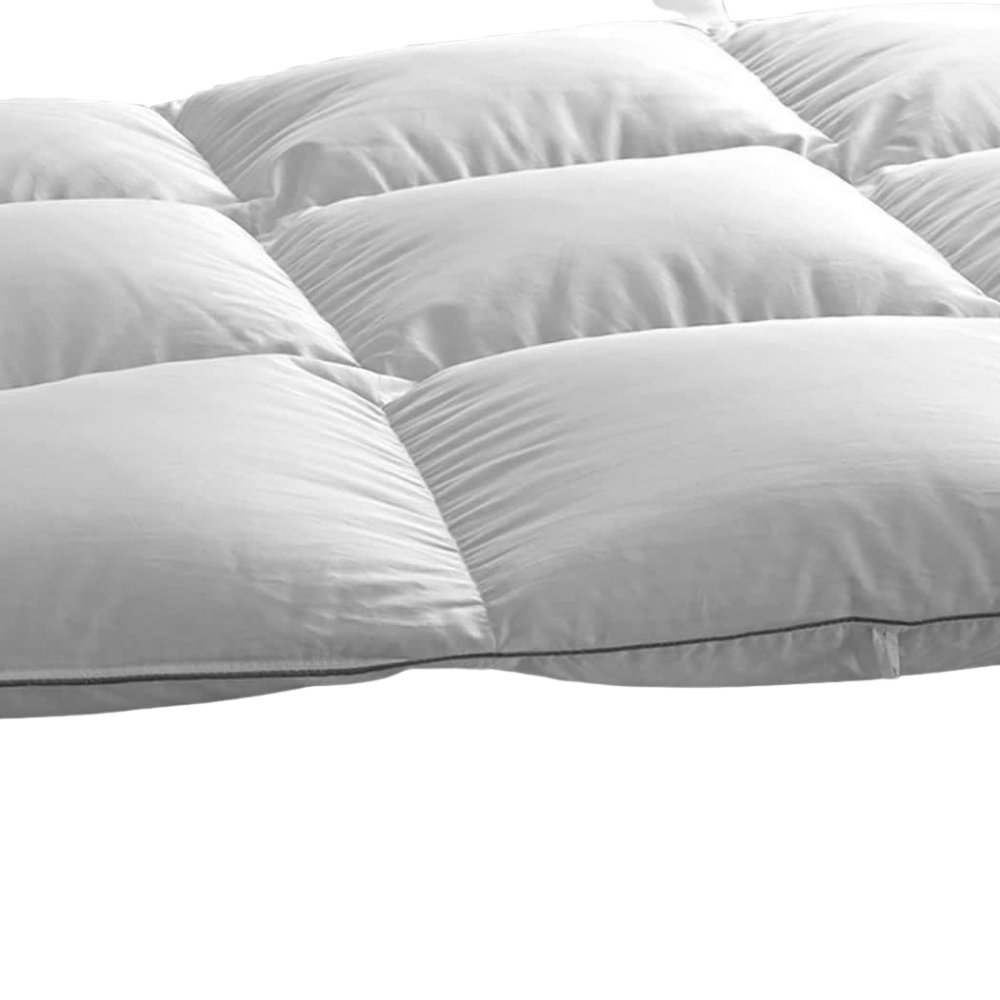
When making the bed, make sure the mattress pad or protector is lying completely flat. Smooth out any wrinkles and pull the elastic securely beneath each corner of the mattress. If you use a mattress topper, it goes directly on the mattress, beneath the mattress protector or pad.
Most modern mattresses cannot be flipped but should be rotated every 3-6 months to ensure even wear.
When it comes to bed linens, I favor 100% organic cotton for breathability and ease-of-care. I have been buying Pottery Barn’s basic sheets for years; they hold up well to frequent washing and soften over time.
FITTED SHEET
A fitted sheet should be deep enough to wrap fully around the mattress, with the elastic tucked securely underneath rather than simply gripping the sides. Check the pocket depth of your sheets against the actual depth of your mattress, including any topper. A sheet that is too shallow will continually pull off the corners; one that is excessively deep tends to bunch.
Start by fitting one corner at the head of the bed, followed by the opposite corner. Move to the foot of the bed and repeat. Run your hands over the surface when you are finished, pulling the sheet taut and smoothing any wrinkles. The tag should be in the lower-right corner when you are standing at the foot of the bed.
FLAT SHEET
Drape the flat sheet over the bed with an even amount hanging over both sides. If the sheet has a finished or patterned side, place that side face down. When you fold the top of the sheet back over the blanket or duvet, the finished side (or top stitching) will then be visible.
Pull the sheet to the head of the bed, leaving enough excess at the top for the desired fold. For everyday use, a simple, neat tuck is perfectly sufficient. Tuck the base first. Then at each lower corner, pull the excess towards you to create a triangle and tuck the tail in on the side. If you prefer your feet less confined, leave the sides untucked while keeping the foot of the sheet secured.
Quilt or Blanket
A lightweight blanket or coverlet adds warmth and gives you more flexibility through the seasons. Lay it evenly over the flat sheet, leaving 3-6 inches of sheet exposed at the head of the bed. Tuck the excess on the sides and foot just as you have the flat sheet. Fold the top of the flat sheet back over the blanket. This creates a clean finished edge and keeps the blanket away from your face.
Duvet & Duvet Insert
This is often the most cumbersome part of making a bed, but there is a reliable way to do it. Turn the duvet cover inside out and lay it flat on the bed with the opening at the foot. Place the duvet insert directly on top, carefully matching all four corners and paying close attention to which direction is longer. Secure any interior corner ties or loops, if your duvet has them. Avoid securing with safety pins as this can damage the fabric.
Reach inside the cover and grasp the two top corners of the duvet cover from the inside, catching the corresponding corners of the insert at the same time. Holding both layers firmly, lift and shake the duvet cover down over the insert until it turns right-side out around it. Pro tip: If you’re short, like me, stand on the bed to get enough height to let the insert shake down into the cover. Fasten the buttons, snaps or zipper at the bottom (most are designed to hide these closures) and give the entire duvet another good shake before styling.
Tip: If you like the plush, generously-filled look, be sure to check dimensions rather than relying solely on the size name, because bedding measurements vary considerably by manufacturer.
For a layered hotel look, leave two thirds of the duvet exposed at the foot of the bed with the top third folded back. Before adding pillows, smooth the duvet from the center outward rather than pulling only at its edges. This distributes the filling more evenly.
King
Queen
Twin
PILLOWS
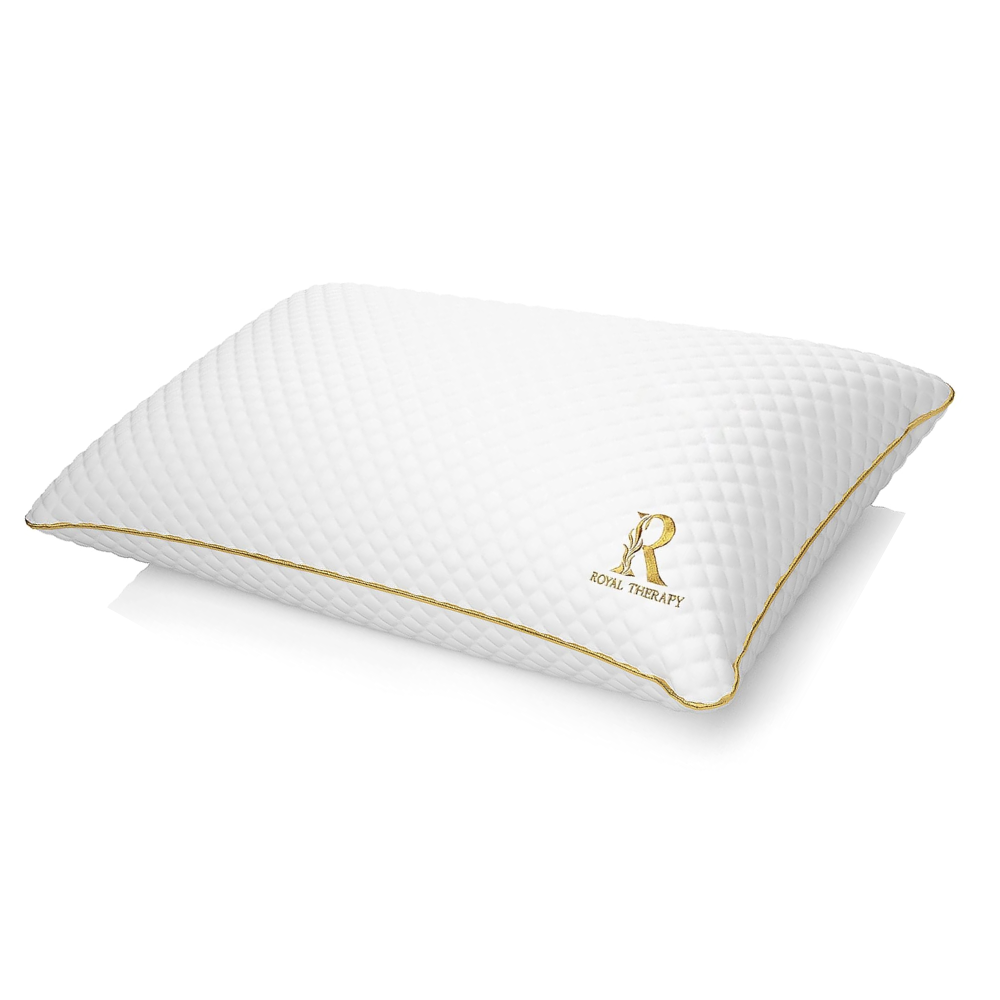
Start with the pillows you actually sleep on. Smooth the pillowcases, straighten the seams and place the openings toward the center of the bed so they are less visible from the sides.
Next, add a few decorative pillows — a simple arrangement is easier on the eyes and the morning routine. King beds look best with three euro pillows plus a long lumbar. Queen and double beds take two euro pillows and a smaller lumbar. Twins require just one euro and one small accent pillow.
You May Also Like